

I’m often asked about quick, healthy lunches that don’t taste like “diet” food, and honestly, for the longest time, I struggled to give a truly exciting answer. Salads are great, sure, but sometimes you just crave something wrap-able, something that feels substantial without weighing you down. That’s precisely why these amazing high-protein cottage cheese wraps came into existence in my kitchen – a quest for a flexible, flavorful, and incredibly nourishing alternative to traditional bread or tortillas.

Why You’ll Be Obsessed with These Cottage Cheese Wonders
Let’s just say, before I embarked on this cottage cheese wrap adventure, I was a bit skeptical. Could a blend of cottage cheese and a few other simple ingredients really create something so incredibly versatile and delicious? The answer, my friends, is a resounding yes! What truly sets these wraps apart is their unique balance of texture and nutrition. They don’t have that typical “low-carb alternative” feel that often leaves you wanting. Instead, they’re surprisingly soft, pliable, and incredibly satisfying. The secret hero here, of course, is the cottage cheese. It brings a creamy texture and a huge protein punch, making these wraps a fantastic choice for anyone looking to boost their protein intake without resorting to heavy, complex meals. Plus, they’re naturally gluten-free, which opens up a world of possibilities for those with dietary restrictions or anyone simply trying to cut down on gluten. Think about it: a quick blend, a short bake, and you’ve got a stack of wraps ready for whatever your culinary heart desires.Beyond the Basics: Ingredients You’ll Need
You’ll be amazed at how few items it takes to craft these kitchen marvels. We’re talking about pantry staples, mostly! The beauty is in their simplicity, allowing the natural goodness of each component to shine.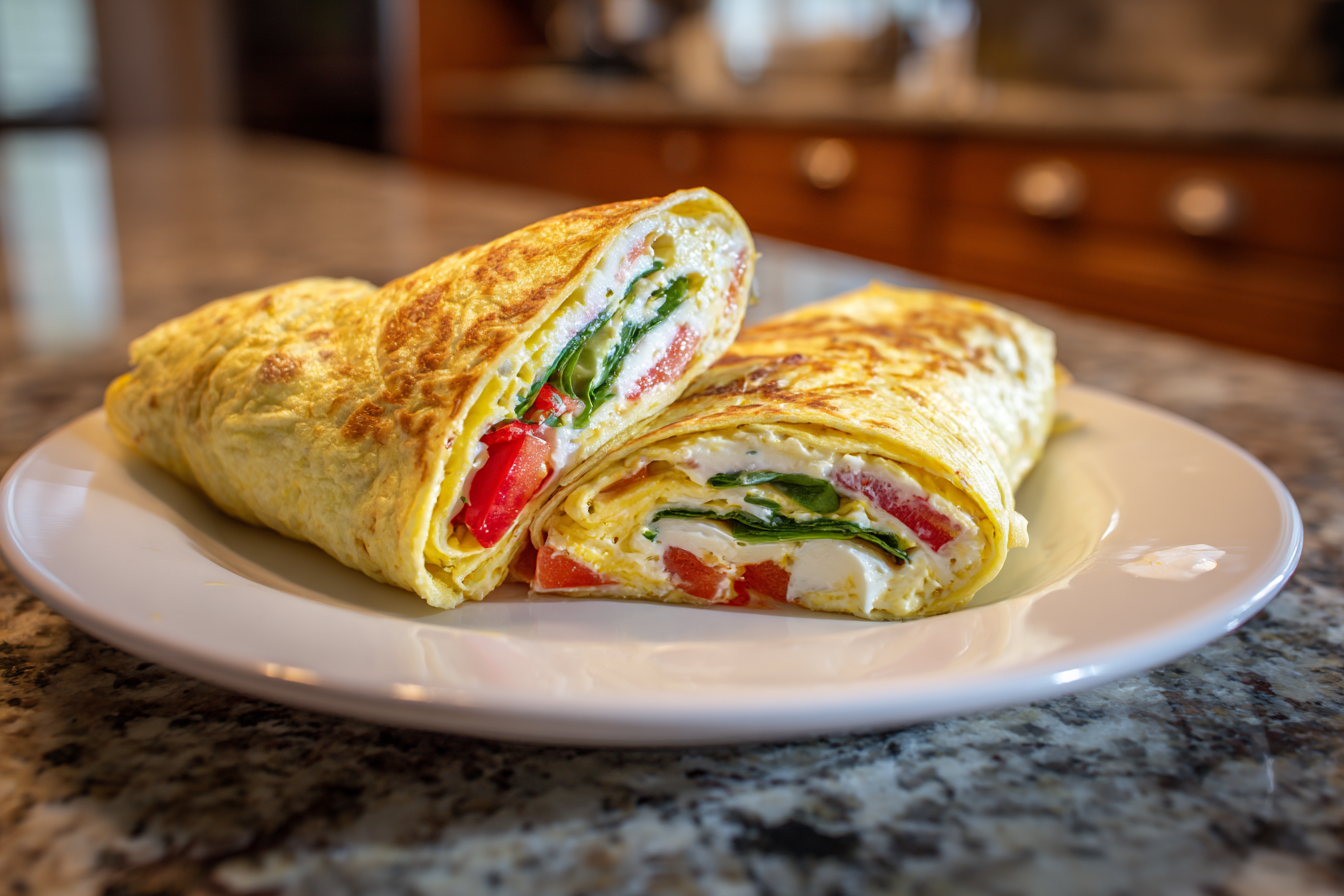
For your batch of wraps, gather these essential players:
- Cottage Cheese: The star of our show! Opt for full-fat or low-fat, whichever you prefer. Its natural moisture and protein content are key to the wrap’s structure.
- Eggs: These act as the primary binder, giving the wraps their flexibility and helping them set. They also contribute to the protein count.
- Psyllium Husk Powder: This might sound a little fancy, but it’s readily available in health food stores and even many larger supermarkets. It’s essential for adding elasticity and preventing the wraps from becoming crumbly. Don’t skip it!
- Cornstarch (or Arrowroot Powder): A touch of this helps absorb excess moisture and provides a smoother texture.
- Salt and Pepper: Simple seasonings are all you need to elevate the flavor. You can always add more once they’re baked.
That’s it! Just five core ingredients stand between you and a stack of incredibly versatile, protein-packed wraps. It’s a testament to how simple ingredients can create something truly special with a little kitchen ingenuity.
Crafting Your Perfect Protein Wraps: Step-by-Step
Making these cottage cheese wraps is far simpler than you might imagine. Forget complicated doughs or lengthy rising times. We’re talking blend, spread, and bake – a truly fuss-free process that yields fantastic results every time. The aroma that fills your kitchen as these bake is subtly savory and wonderfully inviting.Stage One: The Blend
Your food processor or a good blender is your best friend here. Toss in the cottage cheese, eggs, psyllium husk powder, cornstarch, salt, and pepper. Process everything until the mixture is incredibly smooth and uniform. You’re aiming for a consistency similar to a thick pancake batter, without any visible lumps of cottage cheese. Scrape down the sides of the bowl a few times to ensure everything is fully incorporated. This step is crucial for achieving that silky, pliable texture in the final wrap.
Tip: If your batter seems a little too thick after blending, you can add a tablespoon or two of water to reach the desired consistency. However, avoid making it too thin, as this can make the wraps fragile.
Stage Two: The Bake
Preheat your oven to a moderate temperature, around 350°F (175°C). Line a baking sheet with parchment paper – this is essential to prevent sticking. Lightly grease the parchment paper with a tiny bit of olive oil or cooking spray. Pour roughly 1/3 to 1/2 cup of the batter onto the prepared parchment paper for each wrap, depending on your desired size. Use the back of a spoon to gently spread the batter into a thin, even circle, about 6-7 inches in diameter. Don’t make them too thick, or they won’t be as flexible.
Pop the baking sheet into the preheated oven and bake for about 10-15 minutes. You’ll know they’re ready when the edges are lightly golden, and the center is set and firm to the touch. They should puff up slightly and then settle. Remove them from the oven and let them cool on the baking sheet for a few minutes before very carefully peeling them off. They’ll firm up a bit more as they cool. Repeat with the remaining batter until you have a beautiful stack of fresh, homemade wraps.
Filling Ideas: Unleash Your Inner Wrap Artist
Once your glorious cottage cheese wraps are ready, the real fun begins: filling them! Their neutral, slightly savory flavor makes them an ideal base for almost anything you can dream up. This is where you truly personalize your meal and make these wraps a staple in your rotation. Consider a classic deli combo: thinly sliced turkey, crisp lettuce, a juicy tomato slice, and a smear of mustard or pesto. For a more breakfast-friendly approach, scramble some eggs with a sprinkle of cheese, add a slice of avocado, and a dash of hot sauce. The possibilities are genuinely endless.Savory Sensations:
- Mediterranean Marvel: Hummus, cucumber, Kalamata olives, feta cheese, and grilled chicken.
- Smoked Salmon & Dill: Cream cheese (or a dairy-free alternative), smoked salmon, fresh dill, thinly sliced red onion, and capers.
- Roast Veggie Delight: Roasted bell peppers, zucchini, eggplant, a sprinkle of goat cheese, and a drizzle of balsamic glaze.
- Spicy Tuna Melt (Deconstructed): Tuna salad (made with Greek yogurt for extra protein!), a slice of cheddar, and some pickled jalapeños.
Breakfast & Brunch Inspirations:
- Classic Egg & Cheese: Scrambled eggs, a slice of your favorite cheese, and a strip of crispy bacon or a vegetarian sausage patty.
- Avocado Toast Twist: Smashed avocado, a sprinkle of ‘everything bagel’ seasoning, and a fried egg.
- Sweet & Savory: A light spread of cream cheese, sliced fruit (like berries or bananas), and a drizzle of honey or maple syrup. Don’t knock it ’til you’ve tried it!
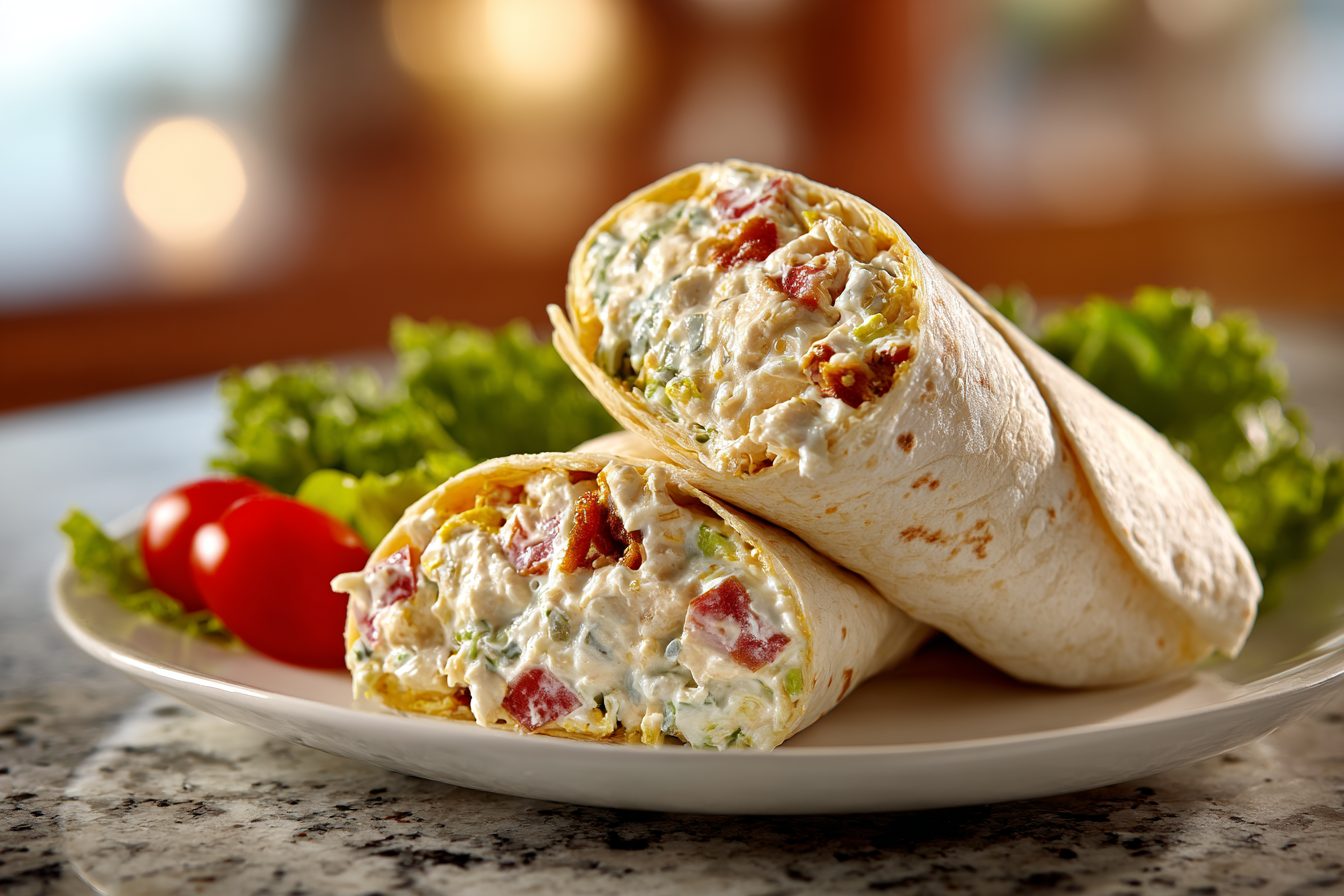
Don’t be afraid to experiment! These wraps are robust enough to handle a variety of fillings without falling apart, making them perfect for lunchboxes or quick meals on the go.
Keeping Them Fresh: Storage & Meal Prep Tips
One of the best things about these high-protein cottage cheese wraps is how well they lend themselves to meal prepping. Making a big batch on Sunday means you’ve got healthy, quick lunch options ready for the week ahead, saving you time and decision fatigue during those busy workdays.Refrigeration:
Once completely cooled, stack the wraps with a piece of parchment paper between each one to prevent sticking. Store them in an airtight container in the refrigerator for up to 3-4 days. They retain their flexibility and flavor beautifully. When you’re ready to eat, simply pull one out, fill it, and enjoy! No reheating necessary unless your filling requires it.
Freezing for Later:
Yes, you can absolutely freeze these wraps! This is a fantastic option for longer-term storage. Again, ensure they are completely cool. Stack them with parchment paper between each wrap, then transfer the stack to a freezer-safe bag or container. They can be frozen for up to 1-2 months.
To thaw, you can either place them in the refrigerator overnight or gently warm them in the microwave for 10-20 seconds until pliable. They might lose a tiny bit of their original elasticity, but they’ll still be perfectly delicious and functional. This makes them a true freezer-friendly hero for those extra busy periods.
Your Burning Questions Answered: Cottage Cheese Wrap FAQ
Making something new often sparks a few questions, especially when it involves an ingredient used in an unexpected way! Here are some common queries I’ve received about these delightful cottage cheese wraps.Can I make these wraps dairy-free?
Unfortunately, the core ingredient is cottage cheese, which is dairy. While there are some plant-based cottage cheese alternatives emerging on the market, I haven’t personally tested them in this recipe. The protein and fat content of traditional cottage cheese are key to the structure and flexibility. If you’re avoiding dairy, you might explore other wrap recipes that are specifically designed to be dairy-free.
What if I don’t have psyllium husk powder?
Psyllium husk powder is pretty crucial for the texture and flexibility of these wraps. It acts as a binder and provides the necessary fiber to prevent them from becoming crumbly. I highly recommend trying to find it. If you absolutely can’t, you *might* be able to substitute with ground flaxseed meal, but the texture will be denser and less pliable. The psyllium husk really is worth seeking out for the best results.
My wraps are breaking when I try to fold them. What went wrong?
There are a couple of reasons this might happen. First, ensure you’re spreading the batter thinly enough. If the wraps are too thick, they won’t be as flexible. Second, make sure they are fully cooked but not overcooked and dried out. They should be set in the middle and slightly golden on the edges. Lastly, make sure they cool for a few minutes on the baking sheet before handling; this allows them to firm up slightly. If they’re still warm, they’ll be more delicate.
Can I add other seasonings to the batter?
Absolutely! This is where you can get creative. A pinch of garlic powder, onion powder, dried herbs like oregano or chives, or even a tiny dash of smoked paprika would be wonderful. Just start with a small amount, perhaps 1/4 to 1/2 teaspoon, and adjust to your taste. Remember that the cottage cheese itself has a mild, tangy flavor, so you don’t want to overpower it.
Are these wraps good for a ketogenic diet?
These cottage cheese wraps are indeed very low in carbohydrates, making them an excellent option for those following a ketogenic or low-carb diet. The primary ingredients – cottage cheese, eggs, and psyllium husk – are all keto-friendly. Always double-check your specific ingredient brands for any hidden carbs, but generally, these fit the bill perfectly. They’re a fantastic way to enjoy wraps without the carb load!

High-Protein Gluten-Free Cottage Cheese Wraps
Soft, flexible, and high-protein cottage cheese wraps perfect for gluten-free lunches or meal prep. Just blend, bake, and fill!
📝 Ingredients
👩🍳 Instructions
-
1Preheat your oven to 350°F (175°C). Line a large baking sheet with parchment paper and lightly grease it with cooking spray or a tiny bit of olive oil.
-
2In a food processor or high-speed blender, combine the cottage cheese, eggs, psyllium husk powder, cornstarch, salt, and pepper. Blend until the mixture is completely smooth and no lumps of cottage cheese remain. Scrape down the sides as needed to ensure everything is fully incorporated. The batter should have a thick, pourable consistency.
-
3Pour roughly 1/3 to 1/2 cup of the batter onto the prepared parchment paper. Use the back of a spoon or an offset spatula to gently spread the batter into an even, thin circle, about 6-7 inches in diameter. You should be able to make 2-3 wraps per standard baking sheet, depending on its size. Avoid making them too thick.
-
4Bake for 10-15 minutes, or until the edges are lightly golden and the center is set and firm to the touch. The wraps may puff up slightly during baking, then settle. They should be easy to peel off the parchment paper once cooled slightly.
-
5Remove the baking sheet from the oven and let the wraps cool on the parchment paper for 5-10 minutes. As they cool, they will become more pliable and easier to handle. Carefully peel them off the parchment paper.
-
6Repeat the process with the remaining batter. Once all wraps are baked and cooled, they are ready to be filled with your favorite ingredients. If not using immediately, stack them with parchment paper in between and store as directed.
💡 Notes
For best results, use a high-speed blender or food processor to achieve a perfectly smooth batter. Psyllium husk powder is crucial for the texture and flexibility; substitutes like flaxseed meal will yield a different, denser result. These wraps are fantastic for meal prep; store them in the fridge or freezer. Get creative with your fillings – they're versatile for both savory and slightly sweet options!


