

There’s something uniquely satisfying about the sizzle and smoke that fills the air when the grill heats up. For me, it instantly signals summer, good company, and uncomplicated deliciousness. After one too many failed attempts at juggling multiple pans and oven timers for a backyard get-together, I finally embraced the beauty of the skewer. Everything cooks together, minimizing fuss and maximizing flavor – making these smoky BBQ chicken & veggie skewers a summer grilling recipe MVP in my kitchen.
- Why You’ll Love These Grilled Chicken Skewers
- Gather Your Grill-Ready Ingredients
- For the Irresistible Chicken Marinade
- For the Colorful Veggie Medley
- For the Sweet & Tangy Glaze
- Essential Equipment
- Crafting Your Perfect BBQ Chicken Skewers
- Step 1: Prep the Chicken for Flavor
- Step 2: Ready the Veggies
- Step 3: Assemble the Skewers with Care
- Step 4: Preheat the Grill
- Step 5: Grill to Perfection
- Step 6: Rest and Serve
- Make-Ahead & Meal Prep Smarts
- Serving Suggestions & Pairings
- Frequently Asked Grilling Questions
- What if I don’t have wooden skewers?
- Can I make these skewers in the oven?
- How do I prevent the chicken from drying out?
- Can I use different vegetables?
- What’s the best way to clean my grill after?
- Storage & Reheating Tips
Why You’ll Love These Grilled Chicken Skewers
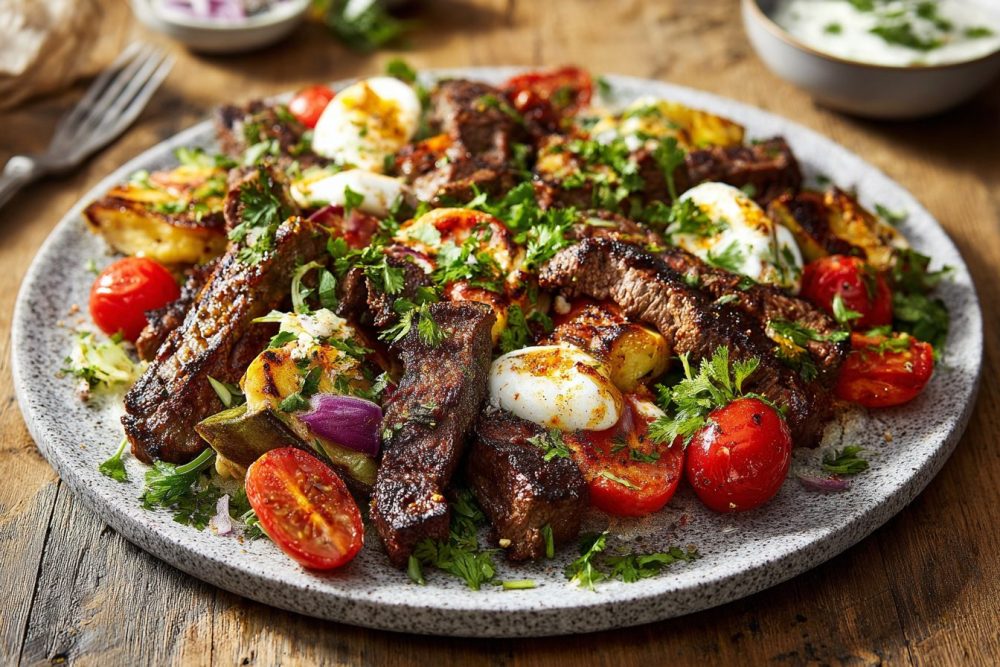
What truly sets these skewers apart from other grilled chicken recipes? It’s the perfect harmony of textures and tastes, elevated by a simple yet effective marinating strategy. We’re not just throwing things on a stick; we’re building layers of flavor. The chicken gets a head start soaking up a bright, savory marinade, ensuring it stays juicy and tender, while the veggies contribute a sweet, slightly charred crunch. The secret weapon here is the BBQ sauce – not just any sauce, but one that’s brushed on during the final stages of grilling. This allows it to caramelize without burning, creating that irresistible sticky-sweet glaze that makes every bite sing. It’s a fuss-free approach to achieving maximum flavor with minimal effort, perfect for those long, lazy summer evenings.Gather Your Grill-Ready Ingredients
Building truly memorable skewers starts with fresh, quality ingredients. Here’s what you’ll need to create these fantastic smoky BBQ chicken and veggie sensations. Remember, good produce makes all the difference!For the Irresistible Chicken Marinade
- 2 lbs boneless, skinless chicken breasts or thighs, cut into 1-inch cubes
- 1/4 cup olive oil
- 2 tablespoons apple cider vinegar
- 1 tablespoon Worcestershire sauce
- 1 tablespoon smoked paprika
- 1 teaspoon garlic powder
- 1 teaspoon onion powder
- 1/2 teaspoon black pepper
- 1/4 teaspoon cayenne pepper (optional, for a little kick)
- 1/2 teaspoon salt
For the Colorful Veggie Medley
- 1 large red bell pepper, cut into 1-inch pieces
- 1 large green bell pepper, cut into 1-inch pieces
- 1 medium red onion, cut into 1-inch wedges
- 1 cup cherry tomatoes
- 1 medium zucchini, cut into 1/2-inch thick half-moons
- 1/4 cup olive oil (for tossing vegetables)
- Salt and black pepper to taste
For the Sweet & Tangy Glaze
- 1 cup your favorite BBQ sauce (homemade or store-bought)
- 2 tablespoons brown sugar (optional, for extra caramelization)
- 1 tablespoon apple cider vinegar (to thin and add tang)
Essential Equipment
- 12-16 wooden skewers, soaked in water for at least 30 minutes (or metal skewers)
- Large mixing bowls
- Basting brush
- Grill or grill pan
Crafting Your Perfect BBQ Chicken Skewers
Let’s get those skewers assembled and ready for the grill! This process is straightforward, but a few key steps ensure everything cooks evenly and tastes incredible.Step 1: Prep the Chicken for Flavor
Cut your chicken into uniform 1-inch cubes. This helps everything cook at the same rate. In a large bowl, whisk together the olive oil, apple cider vinegar, Worcestershire sauce, smoked paprika, garlic powder, onion powder, black pepper, cayenne pepper (if using), and salt to create your marinade. Add the chicken pieces to the marinade, toss to coat thoroughly, and cover the bowl. Refrigerate for at least 30 minutes, or up to 4 hours for deeper flavor. Don’t marinate longer than 4 hours, especially if using a vinegar-based marinade, as it can start to break down the chicken’s texture.
Step 2: Ready the Veggies
While the chicken is marinating, prepare your vegetables. Cut the bell peppers, red onion, and zucchini into pieces roughly the same size as the chicken cubes. This is crucial for even cooking. In a separate bowl, toss the prepared vegetables with 1/4 cup olive oil, a pinch of salt, and a grind of black pepper.
Step 3: Assemble the Skewers with Care
Once your wooden skewers have soaked (or if using metal ones), it’s time to build. Alternate threading chicken pieces with slices of bell pepper, red onion, zucchini, and cherry tomatoes. Try not to pack them too tightly, as this allows even heat distribution and better charring. Aim for 4-5 pieces of chicken per skewer, interspersed with plenty of veggies.
Note: If you find the tomatoes are too soft to thread easily, you can add them to the skewers only for the last 5-7 minutes of grilling, or grill them separately in a grill basket.
Step 4: Preheat the Grill
Preheat your grill to medium-high heat (about 400-450°F or 200-230°C). Clean the grill grates thoroughly with a wire brush, then lightly oil them with a paper towel dipped in vegetable oil. This prevents sticking and helps create those beautiful grill marks.
Step 5: Grill to Perfection
Place the assembled skewers on the hot grill. Close the lid and cook for 10-15 minutes, turning them every 3-4 minutes, until the chicken is cooked through and the vegetables are tender-crisp with nice char marks. Midway through grilling (around the 7-minute mark), begin basting the skewers generously with your prepared BBQ glaze. Continue to turn and baste until the chicken reaches an internal temperature of 165°F (74°C) and the sauce is caramelized and sticky.
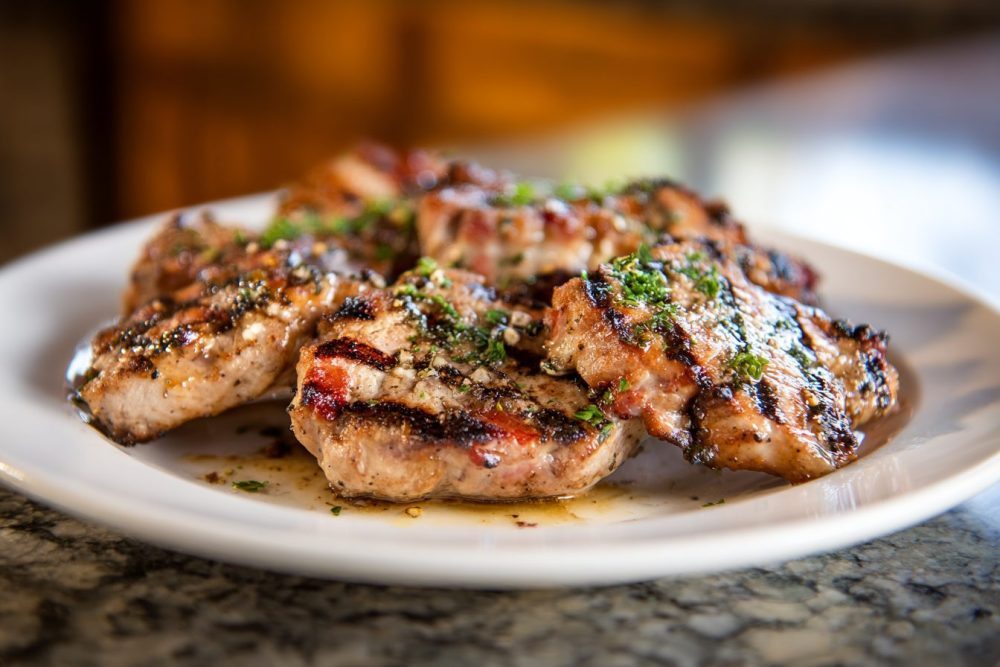
Tip: Don’t baste too early with the BBQ sauce, especially if it contains sugar. The high sugar content can cause it to burn before the chicken is fully cooked. Brush it on in the last few minutes to get that perfect glaze.
Step 6: Rest and Serve
Once cooked, remove the skewers from the grill and let them rest for 5 minutes. This allows the juices in the chicken to redistribute, ensuring every bite is succulent. Serve immediately with your favorite summer sides.
Make-Ahead & Meal Prep Smarts
These smoky BBQ chicken and veggie skewers are fantastic for meal prepping! You can significantly cut down on day-of cooking time with a little planning.Chicken Prep
Marinate the chicken up to 4 hours in advance. Keep it covered in the refrigerator until you’re ready to assemble. This ensures the chicken is packed with flavor when it hits the grill.
Veggie Prep
Chop all your vegetables a day or two ahead of time and store them in airtight containers in the fridge. This makes assembly a breeze, especially if you’re planning a busy weeknight dinner.
Assemble Ahead
You can even assemble the skewers entirely up to 2-3 hours before grilling. Store them on a tray or baking sheet covered with plastic wrap in the refrigerator. Just remember to soak wooden skewers for longer if you’re assembling them far in advance.
Serving Suggestions & Pairings
What goes well with these vibrant skewers? Plenty! They’re versatile enough to complement a wide array of summer sides, making them perfect for any gathering. For a light and refreshing meal, serve them alongside a crisp green salad with a vinaigrette dressing. A classic potato salad or a creamy coleslaw also makes a fantastic pairing, offering a comforting contrast to the smoky chicken. Or, for something a little different, consider a quinoa salad with fresh herbs and lemon. If you’re looking to make it a heartier meal, grilled corn on the cob or some fluffy rice are excellent choices. And don’t forget a refreshing beverage – iced tea, lemonade, or a light summer ale would be perfect.Frequently Asked Grilling Questions
A few common questions pop up when it comes to grilling skewers. Here are some answers to help you achieve perfect results every time.What if I don’t have wooden skewers?
No problem! Metal skewers work wonderfully and don’t require soaking. If you’re using wooden skewers, remember to soak them in water for at least 30 minutes before threading. This prevents them from burning on the grill.
Can I make these skewers in the oven?
Absolutely! If grilling isn’t an option, you can roast these skewers in the oven. Preheat your oven to 400°F (200°C). Arrange the skewers on a baking sheet lined with parchment paper and bake for 20-25 minutes, flipping halfway through and basting with BBQ sauce in the last 10 minutes, until the chicken is cooked through.
How do I prevent the chicken from drying out?
There are a few tricks! First, don’t overcook it – use an instant-read thermometer to check for an internal temperature of 165°F (74°C). Second, make sure your chicken pieces are cut uniformly so they cook evenly. Third, the marinade helps keep the chicken juicy, so don’t skip that step! Lastly, resting the chicken after grilling allows juices to redistribute, leading to a more tender result.
Can I use different vegetables?
Definitely! This recipe is incredibly adaptable. Feel free to swap in other quick-cooking vegetables like button mushrooms, pineapple chunks (which caramelize beautifully!), or even chunks of sweet potato (though they might need a longer cook time or a head start in the microwave). Just ensure all veggies are cut to a similar size for even cooking.
What’s the best way to clean my grill after?
The easiest time to clean your grill is when it’s still hot after cooking. Use a stiff wire brush to scrape off any stuck-on bits. For deeper cleaning, especially if you’re using BBQ sauce, you might want to consider a grill cleaner or a mixture of baking soda and water once the grates have cooled.
Storage & Reheating Tips
Have leftovers? Lucky you! These skewers store well and can be enjoyed again.Storing Leftovers
Once cooled, remove the chicken and vegetables from the skewers and store them in an airtight container in the refrigerator for up to 3-4 days. This makes them perfect for quick lunches or another dinner.
Reheating
To reheat, you can gently warm them in the microwave, but for best results, I recommend using a skillet over medium heat or popping them back in the oven at 350°F (175°C) until just heated through. This helps retain their texture and prevents them from becoming rubbery.

Smoky BBQ Chicken & Veggie Skewers
Juicy grilled chicken and colorful vegetables glazed in BBQ sauce for an easy, flavorful summer meal.
📝 Ingredients
👩🍳 Instructions
-
1In a large bowl, combine 1/4 cup olive oil, 2 tbsp apple cider vinegar, Worcestershire sauce, smoked paprika, garlic powder, onion powder, 1/2 tsp black pepper, cayenne (if using), and 1/2 tsp salt. Add chicken cubes, toss to coat, cover, and marinate in the refrigerator for 30 minutes to 4 hours.
-
2While chicken marinates, prepare vegetables. In a separate bowl, toss bell peppers, red onion, cherry tomatoes, and zucchini with 1/4 cup olive oil, salt, and pepper.
-
3Preheat grill to medium-high heat (400-450°F/200-230°C). Clean and lightly oil grill grates.
-
4In a small bowl, whisk together BBQ sauce, brown sugar (if using), and 1 tbsp apple cider vinegar for the glaze.
-
5Thread marinated chicken and prepared vegetables onto soaked skewers, alternating ingredients and leaving a little space between each piece.
-
6Place skewers on the hot grill. Cook for 10-15 minutes, turning every 3-4 minutes, until chicken is cooked through and vegetables are tender-crisp. After about 7 minutes of cooking, begin basting skewers generously with the BBQ glaze, continuing to turn and baste until the sauce is caramelized and chicken reaches an internal temperature of 165°F (74°C).
-
7Remove skewers from the grill and let them rest for 5 minutes before serving to allow the juices to redistribute.
💡 Notes
Ensure chicken and vegetables are cut into similar sizes for even cooking. For wooden skewers, soak for at least 30 minutes to prevent burning. Don't baste with BBQ sauce too early to avoid burning the sugars. Adjust cayenne pepper to your preferred spice level.