Do you ever just crave something sweet and a little naughty, but without derailing all your hard work? I know I do. There are days when a plain old fat bomb just won’t cut it, and my sweet tooth demands something more… playful. That’s exactly how these delightful keto “Oreo” chaffles came into being – a quest for that iconic chocolate sandwich cookie flavor, reimagined for a low-carb lifestyle.
- What Makes These “Oreo” Chaffles So Special?
- Gather Your Kitchen Arsenal: Ingredients You’ll Need
- Crafting Your Keto “Oreo” Chaffle Masterpiece
- Whip Up the Chaffle Batter
- Cook the Chaffles to Perfection
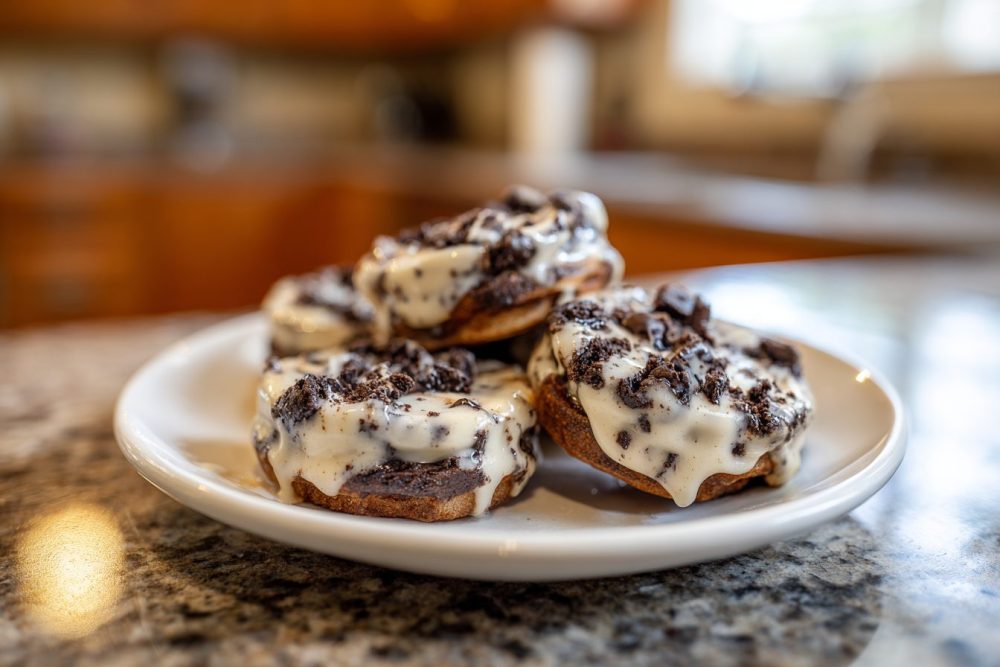
- Prepare the Dreamy Cream Filling
- Assemble Your “Oreo” Chaffles
- Mastering the Chaffle: Frequently Asked Questions
- Can I make these chaffles ahead of time?
- My chaffles aren’t crispy; what went wrong?
- Can I use a different type of cheese in the chaffles?
- What if I don’t have a mini waffle maker?
- Is Dutch-processed cocoa powder really necessary?
- Variations to Keep Things Exciting
- Storage and Reheating Advice
- Why These Chaffles Will Become Your Keto Dessert Staple
What Makes These “Oreo” Chaffles So Special?
You might be thinking, “Another chaffle recipe? What’s new?” But trust me, this isn’t just any chaffle. The secret lies in a careful balance of ingredients that mimic the distinct flavor and texture of those beloved sandwich cookies. We’re not just adding cocoa powder; we’re using a specific blend to get that deep, almost black, color and rich chocolate taste. The goal here was to create a chaffle that stands on its own as a dessert, not just a vehicle for toppings. The slight crunch on the outside gives way to a tender, slightly chewy interior, making each bite incredibly satisfying. It’s the kind of treat that feels incredibly decadent, yet fits perfectly into your keto macros. Think of it as a grown-up, low-carb interpretation of pure childhood joy.Gather Your Kitchen Arsenal: Ingredients You’ll Need
Making these “Oreo” chaffles is surprisingly simple, especially if you’re already stocked with keto staples. The key is using high-quality ingredients, particularly your cocoa powder, to achieve that authentic dark chocolate flavor.For the Chaffles:
- Almond Flour: Super fine almond flour works best for a smooth batter and tender chaffle.
- Unsweetened Cocoa Powder: Opt for Dutch-processed cocoa powder. It’s less acidic and provides a darker color and richer chocolate flavor, closer to an actual Oreo.
- Erythritol or Monk Fruit Sweetener: Granulated versions dissolve well and provide the necessary sweetness without the carbs. Adjust to your preferred level of sweetness.
- Baking Powder: Just a touch to give our chaffles a little lift and airiness.
- Pinch of Salt: Enhances the chocolate flavor. Don’t skip it!
- Large Egg: The binding agent that makes chaffles, well, chaffles!
- Shredded Mozzarella Cheese: Surprised? Don’t be! This is the magic ingredient that creates the crispy texture without a cheesy flavor. Trust the process.
- Unsalted Butter (melted): Adds richness and helps with the texture.
- Vanilla Extract: A splash enhances all the other flavors.
For the Creamy Filling:
Because what’s an “Oreo” without its iconic cream filling?
- Cream Cheese: Softened, full-fat cream cheese is essential for that rich, tangy base.
- Powdered Erythritol or Monk Fruit Sweetener: Powdered sweeteners blend seamlessly into the cream cheese for a smooth, lump-free filling.
- Unsalted Butter: Softened to room temperature, it adds body and richness to the filling.
- Heavy Cream: Just a touch to achieve that perfect, pipeable consistency.
- Vanilla Extract: For that classic cream filling flavor.
Crafting Your Keto “Oreo” Chaffle Masterpiece
The process for these chaffles is straightforward, even for beginner keto bakers. Just follow these steps, and you’ll be biting into your chocolatey dreams in no time.Whip Up the Chaffle Batter
- Prep Your Waffle Maker: Preheat your mini waffle maker (or regular one) according to the manufacturer’s instructions. A little non-stick spray is usually a good idea, even if it’s non-stick.
- Combine Dry Ingredients: In a medium bowl, whisk together the almond flour, cocoa powder, granulated sweetener, baking powder, and salt. Make sure there are no lumps in the cocoa powder.
- Add Wet Ingredients: In a separate smaller bowl, whisk the egg, melted butter, and vanilla extract until well combined.
- Bring Them Together: Pour the wet ingredients into the dry ingredients and mix until just combined. Don’t overmix; a few small lumps are fine.
- Fold in the Cheese: Gently fold in the shredded mozzarella cheese. Yes, it sounds weird, but this is what gives you that perfect chaffle texture without any cheesy taste in a sweet application. Tip: If your batter seems too thick, you can add a tablespoon of almond milk or heavy cream to thin it slightly. It should be thick enough to spoon, but not so thick it won’t spread.
Cook the Chaffles to Perfection
- Portion the Batter: For a mini waffle maker, use about 2 tablespoons of batter per chaffle. For a standard waffle maker, you’ll need more, likely 1/2 to 3/4 cup, depending on its size.
- Cook Until Crispy: Spoon the batter onto the hot waffle maker and close the lid. Cook for 3-5 minutes, or until the chaffle is golden brown, firm, and easily peels away from the plates. The cooking time will vary based on your waffle maker.
- Cool on a Rack: Carefully remove the cooked chaffles and place them on a wire rack to cool completely. This helps them crisp up and prevents them from getting soggy. Note: Resist the urge to stack them while they’re warm, as this will trap steam and make them soft.
Prepare the Dreamy Cream Filling
- Cream the Basics: In a medium bowl, beat the softened cream cheese and softened butter together with an electric mixer until light and fluffy. This should take about 1-2 minutes.
- Sweeten and Flavor: Gradually add the powdered sweetener and vanilla extract, beating until smooth and well combined. Scrape down the sides of the bowl as needed.
- Achieve the Right Consistency: With the mixer on low, slowly drizzle in the heavy cream until the filling reaches your desired consistency. It should be thick enough to spread or pipe, but smooth. If it’s too thick, add a tiny bit more cream; too thin, add a sprinkle more powdered sweetener.
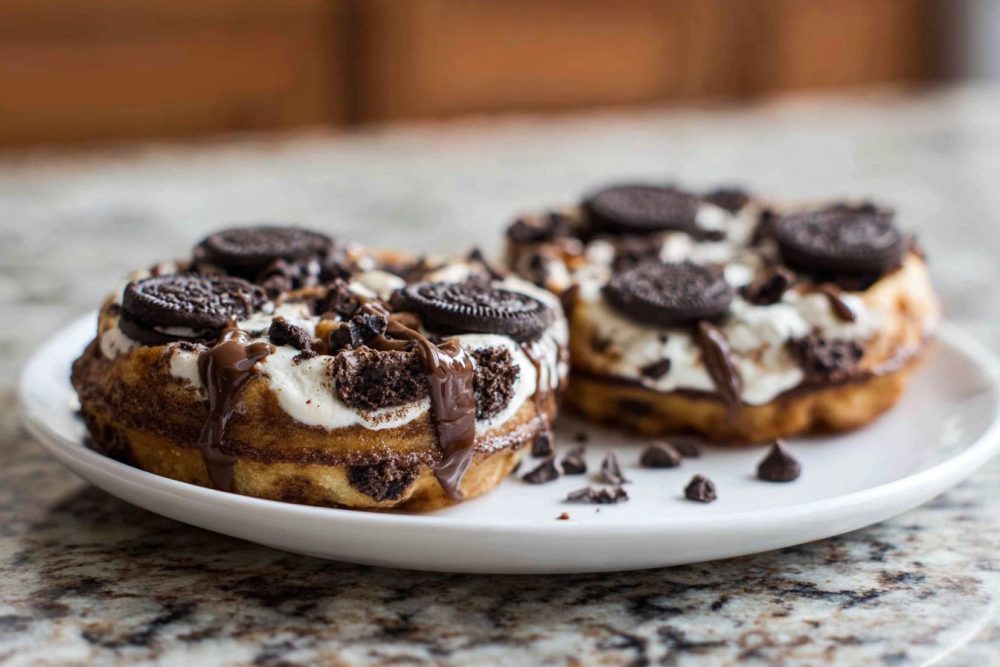
Assemble Your “Oreo” Chaffles
- Pair Them Up: Once the chaffles are completely cool, select similar-sized chaffles to create pairs.
- Fill ‘Em Up: Take one chaffle half, spread or pipe a generous dollop of the cream cheese filling onto the flat side.
- Sandwich and Serve: Top with the other chaffle half, gently pressing down to distribute the filling. Serve immediately, or chill for a bit to firm up the filling.
Mastering the Chaffle: Frequently Asked Questions
Even with a simple recipe like this, a few questions always pop up. Here are some of the most common ones I hear:Can I make these chaffles ahead of time?
Absolutely! You can make the chaffle “cookies” ahead of time and store them in an airtight container at room temperature for up to 3 days, or freeze them for up to a month. The cream filling can be made 1-2 days in advance and stored in the fridge. Assemble just before serving for the best texture.
My chaffles aren’t crispy; what went wrong?
Several factors can affect crispiness. Ensure your waffle maker is fully preheated. Don’t open the lid too early – let them cook until the steam subsides and they’re easily released. Also, cooling them on a wire rack is crucial to prevent steam from making them soggy. If all else fails, a quick minute back in the hot waffle maker can often re-crisp them.
Can I use a different type of cheese in the chaffles?
While mozzarella is highly recommended for its neutral flavor and excellent melting properties, some people have had success with a blend of mozzarella and a small amount of cream cheese. However, using cheddar or other strong-flavored cheeses will likely alter the taste profile considerably, making them less “Oreo-like.”
What if I don’t have a mini waffle maker?
No problem! A regular-sized waffle maker works just fine. You’ll simply get fewer, larger chaffles. You can then cut them into smaller portions or enjoy them as bigger sandwich cookies. Adjust the batter quantity per chaffle accordingly.
Is Dutch-processed cocoa powder really necessary?
While you can use regular unsweetened cocoa powder, Dutch-processed cocoa gives these chaffles their characteristic dark color and a milder, less bitter chocolate flavor, which is closer to the original “Oreo” experience. If you use regular cocoa, the color may be lighter, and the flavor slightly more intense and acidic.
Variations to Keep Things Exciting
Once you’ve mastered the basic Keto “Oreo” Chaffle, feel free to get creative!- Peanut Butter Swirl: Swirl a tablespoon of natural creamy peanut butter into the cream cheese filling for a nutty twist.
- Mint Chocolate: Add a drop or two of peppermint extract to the cream filling for a refreshing mint-chocolate flavor.
- Espresso Kick: Dissolve 1/4 teaspoon of instant espresso powder in the melted butter for an enhanced, deeper chocolate flavor in the chaffles themselves.
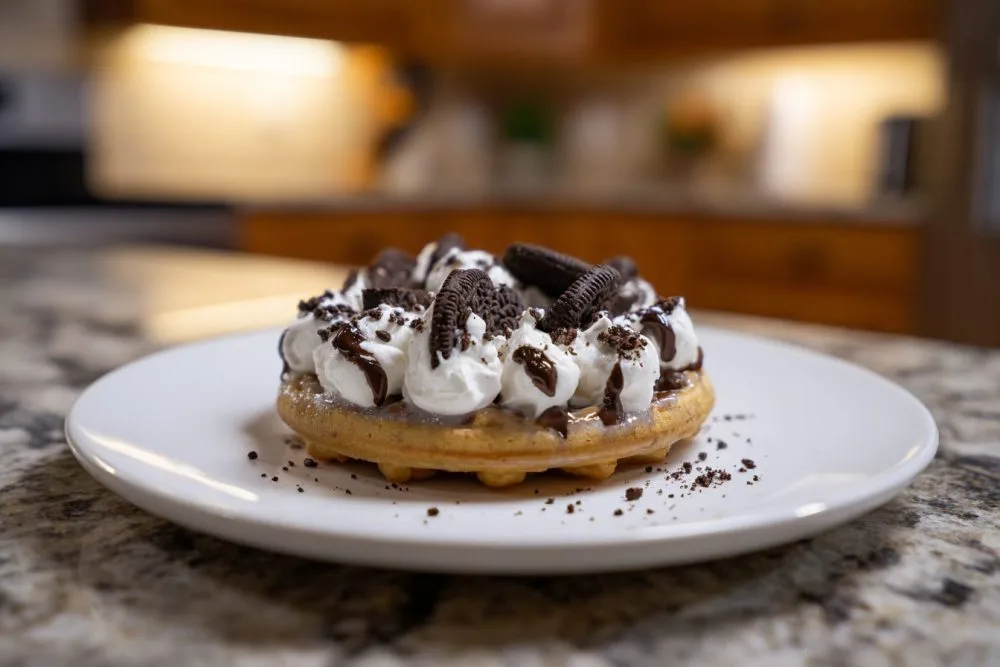
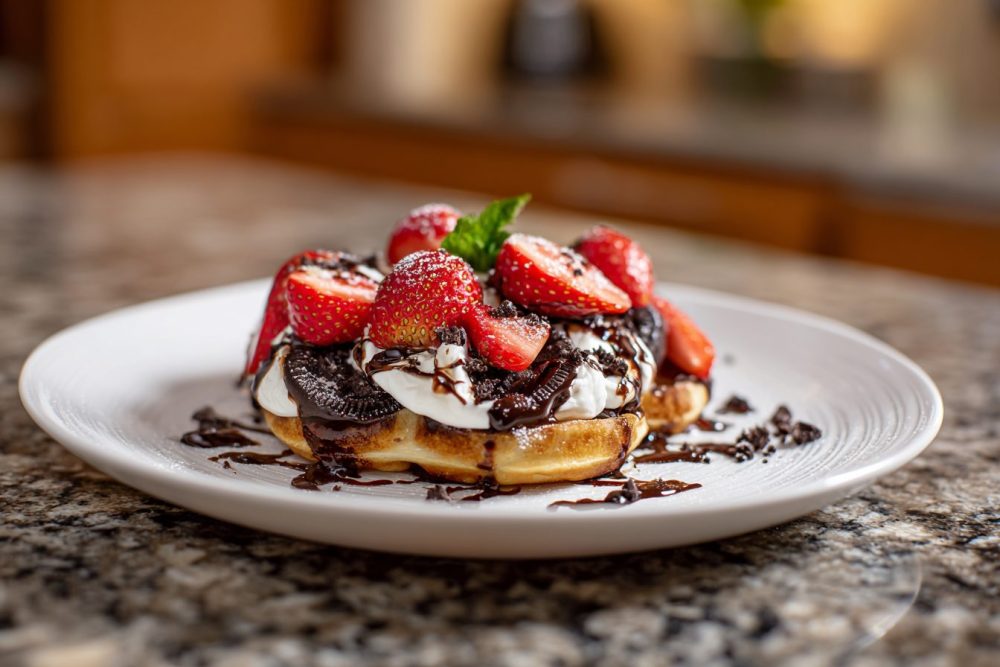
- Garnish Galore: Sprinkle a few sugar-free chocolate chips or a dusting of extra cocoa powder on top of the assembled chaffles for presentation.
Storage and Reheating Advice
Knowing how to properly store and reheat your keto treats means you can enjoy them throughout the week!Storing Assembled Chaffles:
Once assembled with the cream filling, these chaffles are best stored in an airtight container in the refrigerator. They will keep well for 2-3 days. The chaffles will soften slightly over time due to the moisture from the filling, but they’ll still be delicious.
Storing Unassembled Components:
The plain cooked chaffle “cookies” can be stored at room temperature in an airtight container for up to 3 days, or refrigerated for up to 5 days. For longer storage, freeze them for up to 1 month. Thaw at room temperature or gently reheat in a toaster or air fryer for a few minutes to regain some crispness.
The cream cheese filling can be stored in an airtight container in the refrigerator for up to 3-4 days. You might need to give it a quick whip with a spoon or mixer before using, as it can firm up when cold.
Reheating Tips:
If you’re reheating plain chaffles, the best method is a toaster or an air fryer. This helps them crisp up beautifully. A microwave will make them soft and chewy, which isn’t ideal for that “Oreo” cookie texture. Assembled chaffles are best enjoyed chilled or at room temperature, as reheating them with the filling can cause the filling to melt and separate.
Why These Chaffles Will Become Your Keto Dessert Staple
There’s a reason the keto community embraces innovations like the chaffle: they make sticking to a low-carb lifestyle so much more enjoyable. This “Oreo” version goes beyond just a basic chaffle. It addresses that deep-seated craving for a classic indulgence, transforming it into something that supports your health goals. The simplicity of the ingredients, the ease of preparation, and the utterly delicious outcome make this recipe a winner. Whether you’re looking for a quick breakfast, a satisfying snack, or a guilt-free dessert, these chaffles deliver on all fronts. They’re proof that you don’t have to sacrifice flavor or fun to stay on track. So go ahead, whip up a batch, and rediscover the joy of a truly special treat.
Decadent Keto 'Oreo' Chaffles with Cream Filling
Indulge in these delicious low-carb 'Oreo' chaffles, featuring a rich cocoa chaffle and a creamy, sweet filling. Perfect for a guilt-free keto treat!
📝 Ingredients
👩🍳 Instructions
-
1Preheat your mini waffle maker. Lightly grease if necessary.
-
2In a medium bowl, whisk together the almond flour, cocoa powder, granulated sweetener, baking powder, and salt until well combined and no lumps remain.
-
3In a separate small bowl, whisk the egg, melted butter, and vanilla extract.
-
4Pour the wet ingredients into the dry ingredients and mix until just combined, being careful not to overmix.
-
5Gently fold in the shredded mozzarella cheese until evenly distributed.
-
6Spoon about 2 tablespoons of batter per chaffle onto the preheated waffle maker. Close the lid and cook for 3-5 minutes, or until golden brown and firm. Remove and place on a wire rack to cool completely.
-
7While chaffles cool, prepare the cream filling: In a medium bowl, beat softened cream cheese and softened butter with an electric mixer until light and fluffy (1-2 minutes).
-
8Gradually add the powdered sweetener and vanilla extract, beating until smooth and well combined.
-
9With the mixer on low, slowly drizzle in the heavy cream until the filling reaches your desired consistency (thick but spreadable).
-
10Once chaffles are completely cool, spread or pipe a generous amount of cream filling onto one chaffle half, then top with another chaffle to create a sandwich. Repeat with remaining chaffles and filling.
-
11Serve immediately or chill for 15-30 minutes for the filling to firm up slightly.
💡 Notes
For best results, use Dutch-processed cocoa powder for a darker color and richer flavor. Ensure chaffles cool completely on a wire rack to maintain crispness. If making ahead, store chaffle cookies and filling separately and assemble just before serving.