“`html
- Unlock the Secret to Unforgettable Grilled Skewers
- Essential Ingredients for Your Skewer Adventure
- Getting Started: Your Pre-Grill Prep Strategy
- Assembling Your Masterpiece: The Skewer Stage
- The Final Grill: Achieving Skewer Perfection
- Common Questions About Skewer Mastery
- Can I use different types of meat for these skewers?
- What if I don’t have a grill? Can I use a grill pan?
- How far in advance can I prepare the pre-grilled components?
- My skewers keep sticking to the grill. What am I doing wrong?
- Can I make these vegetarian or vegan?
- Serving Suggestions to Round Out Your Meal
- A Final Word on Grilling Excellence
Remember those backyard cookouts where the skewers were always a little… dry? Or maybe burnt on the outside and raw on the inside? Yeah, me too. For years, I struggled with the elusive perfect skewer, especially when it came to chicken or beef. But then I stumbled upon a technique that felt counterintuitive but completely changed my grilling game: starting with food that’s already been cooked on the grill and ready to be grilled into skewers.
It sounds a bit like double-duty, doesn’t it? But trust me, this isn’t about overcooking. It’s about smart cooking, layering flavor and ensuring tender, juicy results every single time. This method allows you to lock in those initial smoky notes and achieve an even cook, making sure your skewers are perfectly charred and bursting with flavor without the drama of undercooked centers or singed edges.
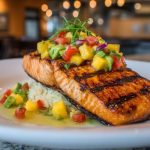
Imagine biting into a skewer where every piece – whether it’s succulent chicken, tender bell peppers, or plump shrimp – is cooked precisely to perfection, with that irresistible kiss of flame-grilled goodness. That’s the promise of this approach, transforming your barbecue from good to truly legendary. Let’s dig into how we make magic happen on the grates.

Unlock the Secret to Unforgettable Grilled Skewers
Before we even thread a single bite onto a skewer, there’s a foundational step that elevates our grilling experience. This isn’t just about throwing raw ingredients onto a stick and hoping for the best. We’re talking about strategically preparing our main proteins and certain vegetables to ensure they’re already halfway to deliciousness before they even meet the skewer. This pre-grilling step is a game-changer, especially for meats like chicken and beef, which benefit immensely from a preliminary cook.
The beauty of starting with food being cooked on the grill and ready to be grilled into skewers is its ability to build layers of flavor. That initial sizzle over direct heat creates an incredible crust and infuses the ingredients with that signature smoky essence right from the start. It also helps in cooking through denser items, preventing the common skewer predicament of having some pieces perfectly done while others are still catching up.
Why This Pre-Grill Method Works Wonders
There are a few key reasons why this technique earns its stripes at every barbecue. Firstly, it provides consistent internal cooking. When you partially cook larger pieces of meat or harder vegetables on their own, you significantly reduce the risk of undercooked spots once they’re threaded onto skewers with other, faster-cooking items. This means fewer worries about food safety and more confidence in your culinary prowess.
Secondly, it’s all about flavor. That initial exposure to the grill’s heat creates a beautiful char and develops those sought-after Maillard reactions. These reactions are responsible for the rich, savory, and complex flavors that make grilled food so irresistible. By getting this head start, your ingredients soak up more of that smoky goodness before being combined.
Finally, it offers incredible flexibility. You can pre-grill your proteins hours, or even a day, in advance. This makes assembly for your barbecue a breeze, allowing you to spend more time with your guests and less time frantically hovering over the grill. It’s the ultimate prep-ahead hack for stress-free entertaining.
Essential Ingredients for Your Skewer Adventure
The beauty of skewers lies in their versatility. You can really let your creativity shine when choosing what to thread onto those sticks. For this particular method focusing on food being cooked on the grill and ready to be grilled into skewers, we’re going to use a blend of proteins and vegetables that truly benefit from the pre-grill.
For the Glorious Meat & Poultry
- 1.5 lbs Boneless, skinless chicken breasts or thighs, cut into 1-inch cubes
- 1.5 lbs Sirloin steak, flank steak, or beef tenderloin, cut into 1-inch cubes
- Optional: 1 lb Large shrimp, peeled and deveined (these won’t be pre-grilled, but added fresh later!)
- 1/4 cup Olive oil
- 2 tbsp Worcestershire sauce (for beef)
- 2 cloves Garlic, minced
- 1 tsp Smoked paprika
- 1/2 tsp Black pepper
- 1/2 tsp Salt
Vibrant Veggies & Flavor Boosters
- 2 Bell peppers (any color), cored and cut into 1-inch pieces
- 1 Red onion, cut into 1-inch pieces
- 1 Zucchini, cut into 1/2-inch thick rounds
- 1 Pint Cherry tomatoes (these also won’t be pre-grilled)
- 1/4 cup Olive oil
- 1 tbsp Dried oregano or Italian seasoning
- Salt and freshly ground black pepper to taste
The Marinade Magic
A good marinade is non-negotiable for flavor and tenderness. This one is simple but effective, designed to penetrate the pre-grilled ingredients and really shine.
- 1/2 cup Olive oil
- 1/4 cup Lemon juice
- 2 tbsp Soy sauce or tamari
- 1 tbsp Dijon mustard
- 1 tbsp Honey or maple syrup
- 2 cloves Garlic, minced
- 1 tsp Red pepper flakes (optional, for a kick)
- Fresh parsley or cilantro, chopped (for garnish)
Getting Started: Your Pre-Grill Prep Strategy
This is where the magic begins, where we take our raw elements and give them that initial kiss of fire. The goal here isn’t to fully cook everything, but to kickstart the process, infuse flavor, and ensure uniform cooking later.
Marinating the Proteins
- In separate bowls, toss the cubed chicken with 2 tbsp olive oil, 1 clove minced garlic, smoked paprika, salt, and pepper. For the beef, use the remaining 2 tbsp olive oil, Worcestershire sauce, other clove of minced garlic, salt, and pepper. Ensure everything is well coated.
- Let the meats marinate at room temperature for at least 30 minutes while you get your grill ready, or refrigerate for up to 4 hours for deeper flavor.
Pre-Grilling the Foundations
Preheat your grill to medium-high heat (about 400-450°F / 200-230°C). Lightly oil the grill grates to prevent sticking.
First up, the chicken. Place the marinated chicken cubes directly on the hot grill. Cook for 2-3 minutes per side, just until you see good grill marks and the chicken starts to lose its raw pinkness, but is not fully cooked through. Remove to a clean plate.
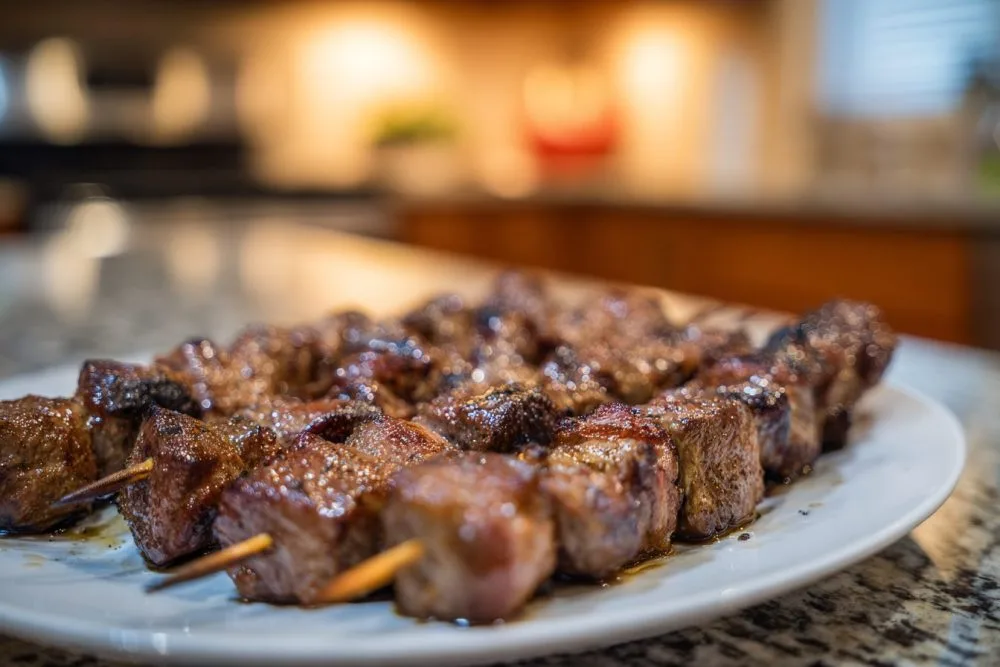
Next, the beef. Place the marinated beef cubes on the grill. Sear for 1-2 minutes per side for medium-rare, again, aiming for good charring but not full doneness. Transfer to the same plate with the chicken.
For the vegetables: In a large bowl, toss the bell pepper pieces, red onion pieces, and zucchini rounds with 1/4 cup olive oil, oregano, salt, and pepper. Spread them in a single layer on the grill. Cook for 2-4 minutes, turning once, until they are slightly softened and have visible grill marks but still retain some bite. Remove from the grill and add to the plate with the meats.
Tip: Don’t overcrowd the grill during this pre-grilling stage. Work in batches if necessary to ensure even cooking and good char. Overcrowding lowers the grill temperature and steams the food instead of searing it.
Assembling Your Masterpiece: The Skewer Stage
Now that your food is cooked on the grill and ready to be grilled into skewers, it’s time to bring it all together. This part is both art and science – arranging pieces for visual appeal and balanced cooking.
Crafting the Skewers
If using wooden skewers, soak them in water for at least 30 minutes prior to threading to prevent burning.
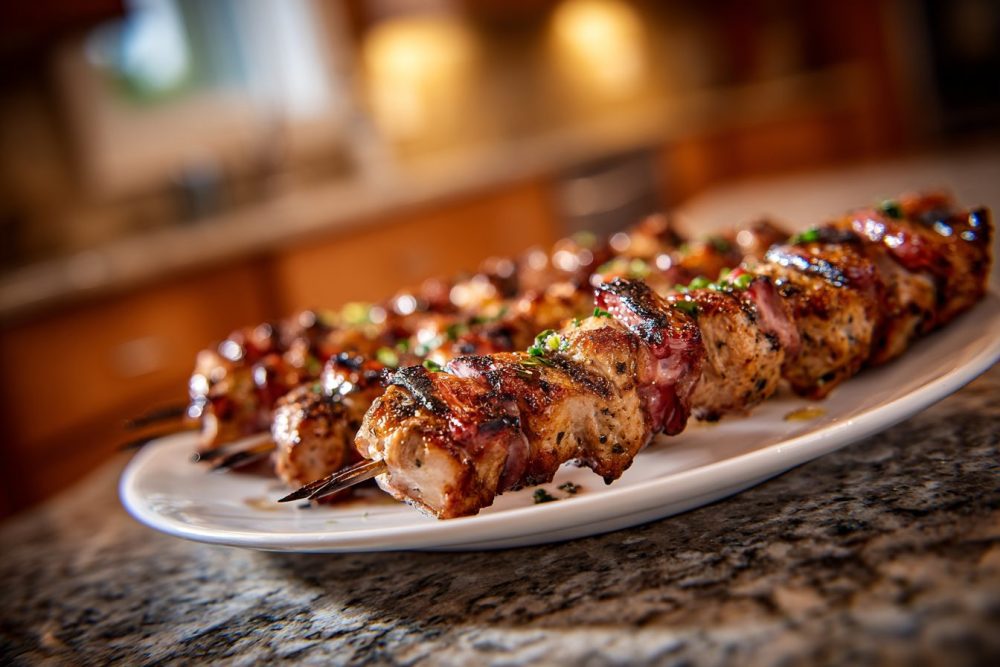
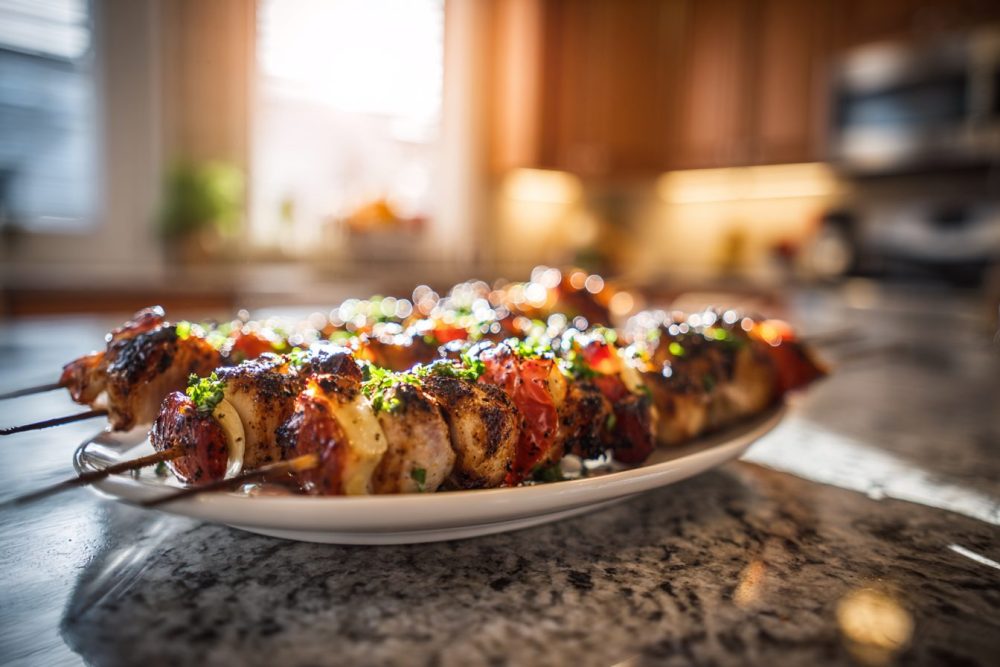
Once all your pre-grilled components (chicken, beef, bell peppers, onions, zucchini) have cooled slightly, you can begin assembling. Alternate pieces of chicken, beef, bell pepper, onion, zucchini, and fresh cherry tomatoes onto each skewer. Try to make the skewers uniform in size so they cook evenly.
Note: If you’re adding shrimp, thread them onto separate skewers or add them to mixed skewers only for the final grilling stage, as they cook much faster and can become rubbery if overcooked.In a small bowl, whisk together all the marinade ingredients (1/2 cup olive oil, lemon juice, soy sauce, Dijon mustard, honey, minced garlic, red pepper flakes). Brush this marinade generously over all the assembled skewers, ensuring every piece is coated. Let them sit for at least 15 minutes to absorb flavor.
The Final Grill: Achieving Skewer Perfection
This is the moment of truth, the final act where all your careful preparation pays off. Because your ingredients are already partially cooked, this finishing grill is quicker and focuses on perfecting those flavors and textures.
Grilling to Golden Brown Goodness
Reheat your grill to medium heat (around 375-400°F / 190-200°C). Again, lightly oil the grates.
Place the assembled, marinated skewers on the grill. Cook for 3-5 minutes per side, turning occasionally, until the meats are fully cooked through (internal temperature of 165°F/74°C for chicken, 145°F/63°C for beef for medium-rare), the vegetables are tender-crisp, and beautiful char marks have developed.
If using shrimp, add them in the last 2-3 minutes of grilling, as they cook very quickly. They’ll turn pink and opaque when done.
Remove the skewers from the grill and let them rest for a few minutes before serving. This allows the juices to redistribute, ensuring maximum flavor and tenderness. Garnish with fresh parsley or cilantro.
Common Questions About Skewer Mastery
Can I use different types of meat for these skewers?
Absolutely! The beauty of this method is its adaptability. Pork tenderloin, lamb, or even firm fish like swordfish or salmon (though these might be better added fresh to the skewer for the final grill, similar to shrimp) would work wonderfully. Just adjust the pre-grilling time slightly based on the thickness and density of the protein.
What if I don’t have a grill? Can I use a grill pan?
Yes, a heavy-bottomed grill pan can certainly be used, both for the pre-grilling and the final skewer cook. Make sure it’s piping hot and lightly oiled. You won’t get the same smoky flavor as an outdoor grill, but you’ll still achieve excellent char and even cooking. A broiler can also work in a pinch for the final cooking stage.
How far in advance can I prepare the pre-grilled components?
You can pre-grill the chicken, beef, and vegetables up to 2-3 days in advance. Store them separately in airtight containers in the refrigerator. When you’re ready to make skewers, simply thread them, marinate, and proceed with the final grilling step. This makes them perfect for meal prep or entertaining.
My skewers keep sticking to the grill. What am I doing wrong?
There are a few culprits here! First, ensure your grill grates are clean. Second, preheat your grill thoroughly – food is less likely to stick to a hot surface. Third, lightly oil the grates with a high smoke point oil (like avocado or grapeseed) right before placing the skewers. Lastly, don’t try to move the skewers too soon; let them develop a crust, and they’ll release more easily.
Can I make these vegetarian or vegan?
Absolutely! For a vegetarian option, you could use paneer or halloumi cheese (which would benefit from a light pre-grill sear), or even firm tofu. For a vegan version, use extra-firm tofu or tempeh, pressed and marinated, and pre-grill until firm and slightly charred before assembling with the vegetables. Mushrooms, particularly portobello, are also fantastic on skewers.
Serving Suggestions to Round Out Your Meal
These skewers are fantastic on their own, but they truly shine when paired with complementary sides. Think about textures and flavors that will balance the smoky richness of the grilled meats and veggies.
- Fluffy Couscous or Rice Pilaf: A simple, absorbent grain is perfect for soaking up any extra marinade or juices.
- Fresh Green Salad: A light, zesty salad with a vinaigrette dressing cuts through the richness beautifully.
- Homemade Tzatziki or Hummus: Offer a creamy, cool dip on the side for an extra layer of flavor and moisture.
- Grilled Corn on the Cob: Double down on the grilled goodness with some sweet, smoky corn.
- Pita Bread or Naan: Warm bread is ideal for scooping up any fallen bits or enjoying alongside the meal.
A Final Word on Grilling Excellence
Embracing the technique of starting with food being cooked on the grill and ready to be grilled into skewers is more than just a different way to barbecue; it’s a philosophy. It’s about being deliberate with your heat, thoughtful with your ingredients, and ultimately, creating a more consistently delicious outcome. No more guesswork, no more unevenly cooked pieces. Just pure, unadulterated grilled perfection.
So next time you’re planning a cookout, don’t just throw everything on a stick. Take a moment, pre-grill, then assemble. You’ll be amazed at the difference it makes. Your guests will rave, and you’ll wonder why you ever grilled any other way. Happy grilling!

Smoky Perfection Skewers with Pre-Grilled Meats & Veggies
Unlock perfectly charred and juicy grilled skewers by pre-grilling meats and dense veggies, then finishing on the grill for unforgettable flavor.
📝 Ingredients
👩🍳 Instructions
-
1Marinate Proteins: In separate bowls, toss chicken with 2 tbsp olive oil, 1 clove minced garlic, smoked paprika, 1/2 tsp salt, and 1/2 tsp pepper. Toss beef with 2 tbsp olive oil, Worcestershire sauce, 1 clove minced garlic, 1/2 tsp salt, and 1/2 tsp pepper. Marinate at room temperature for 30 mins or refrigerate up to 4 hours.
-
2Prepare Vegetables: In a large bowl, toss bell peppers, red onion, and zucchini with 1/4 cup olive oil, oregano, salt, and pepper.
-
3Preheat Grill: Preheat grill to medium-high heat (400-450°F / 200-230°C). Lightly oil grates.
-
4Pre-Grill Chicken & Beef: Place marinated chicken cubes on the grill. Cook 2-3 mins per side until grill marks appear and chicken starts to lose raw pinkness but is not fully cooked. Remove. Place marinated beef cubes on grill. Sear 1-2 mins per side for char, not full doneness. Remove to same plate as chicken.
-
5Pre-Grill Vegetables: Place seasoned bell peppers, red onion, and zucchini on the grill. Cook 2-4 mins, turning once, until slightly softened with char marks but still firm. Remove to plate with meats.
-
6Whisk Marinade: In a small bowl, whisk together 1/2 cup olive oil, lemon juice, soy sauce, Dijon mustard, honey, remaining 1 clove minced garlic, and red pepper flakes (if using).
-
7Assemble Skewers: Once pre-grilled components cool slightly, alternate chicken, beef, bell pepper, onion, zucchini, and fresh cherry tomatoes onto soaked skewers. Brush generously with the whisked marinade. Let sit 15 minutes.
-
8Final Grill: Reheat grill to medium heat (375-400°F / 190-200°C). Lightly oil grates. Place skewers on grill. Cook 3-5 mins per side, turning occasionally, until meats are fully cooked (165°F/74°C for chicken, 145°F/63°C for medium-rare beef), vegetables are tender-crisp, and good char develops.
-
9Rest & Serve: Remove skewers from grill and let rest for a few minutes. Garnish with fresh parsley or cilantro and serve immediately.
💡 Notes
For faster cooking shrimp, add them fresh onto skewers during the last 2-3 minutes of the final grilling step. You can prepare and pre-grill all components 2-3 days in advance and store them separately in the refrigerator for easy assembly later.