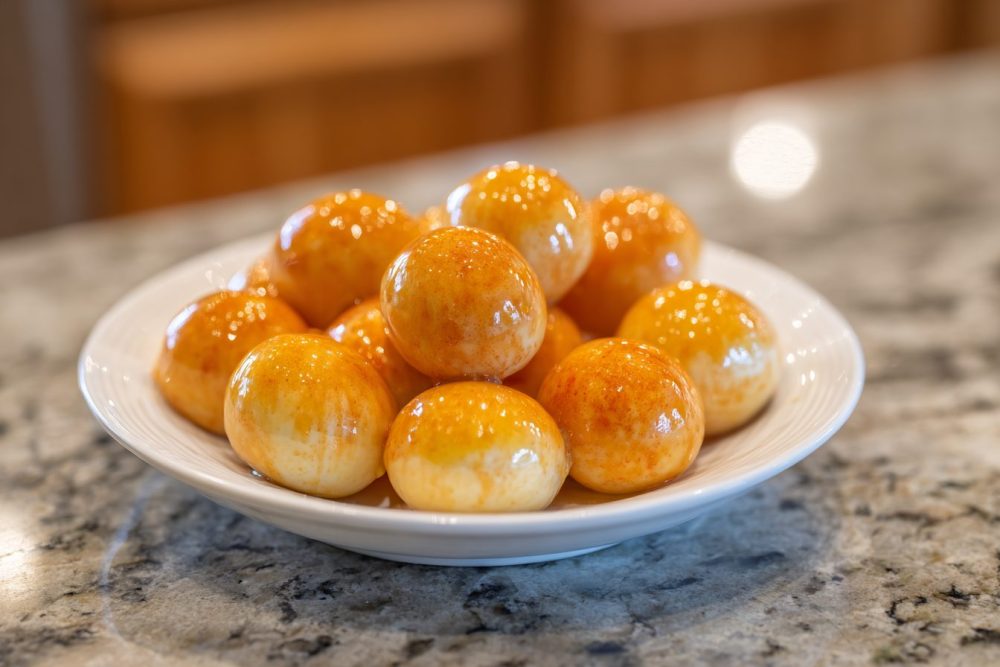
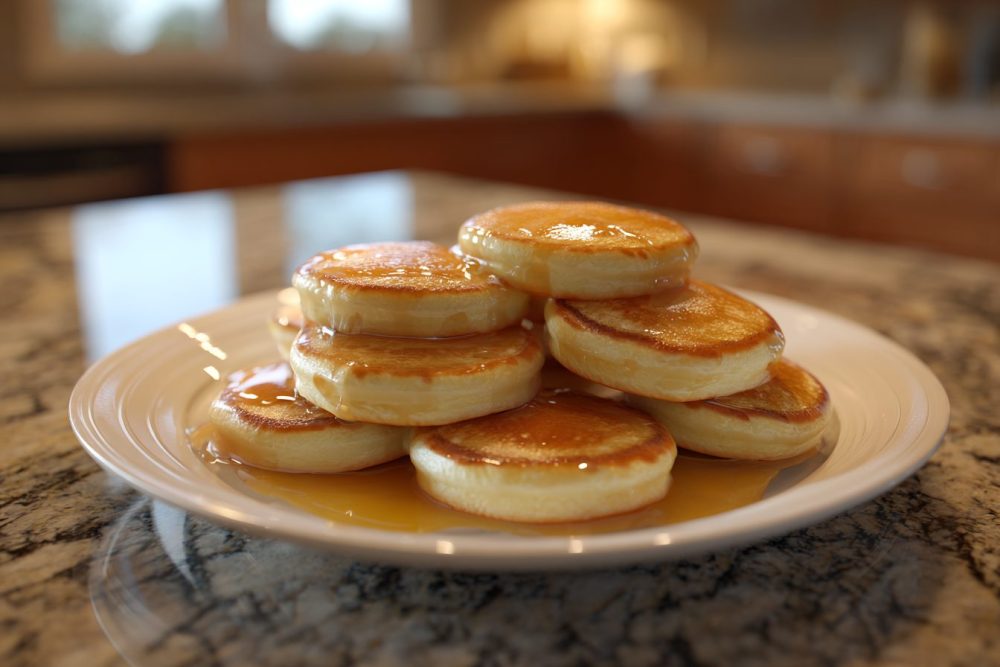
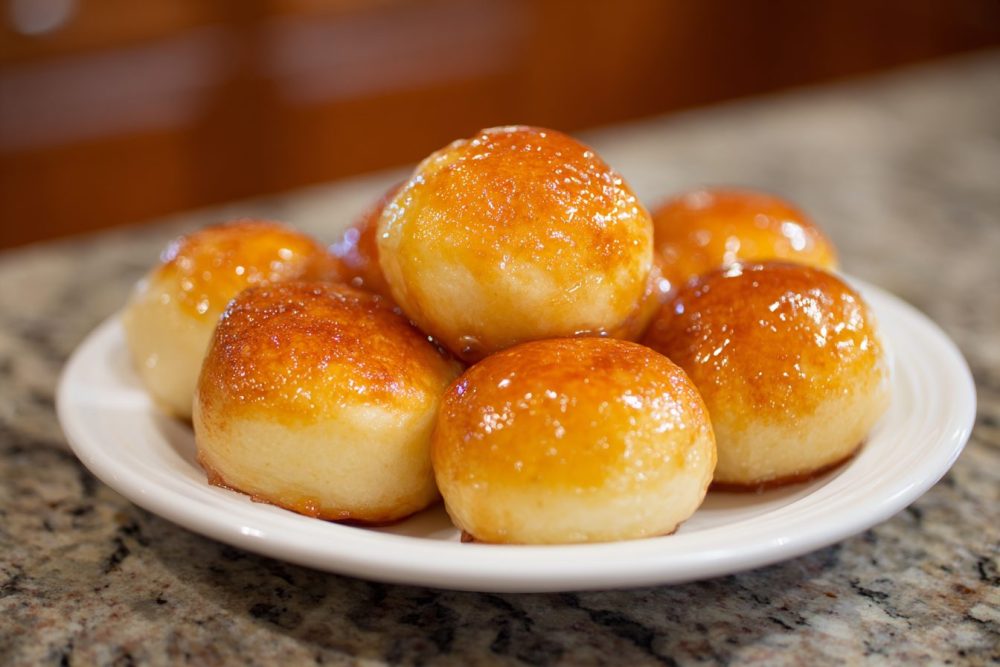
A re you tired of the same old pancake routine, flipping flapjacks one by one while the first ones get cold? I certainly was! There’s nothing quite like the smell of a fresh batch of pancakes on a lazy Sunday morning, but the actual cooking sometimes feels like a never-ending assembly line. That’s why I absolutely adore these fluffy Pancake Poppers – they’ve transformed my breakfast game into something genuinely fun, efficient, and utterly delicious. Imagine perfectly golden, bite-sized morsels of pancake goodness, ready for dipping, stacking, or just popping straight into your mouth.
- Why These Little Poppers Will Revolutionize Your Mornings
- Gather Your Ingredients: What You’ll Need for Perfect Poppers
- Crafting Your Fluffy Pancake Poppers: A Step-by-Step Guide
- Step 1: Get Your Dry Ingredients Ready
- Step 2: Combine the Wet Elements
- Step 3: Bring Batter Together
- Step 4: Heat Up Your Pan
- Step 5: Cook the Poppers
- Step 6: Flip and Finish
- Common Questions About Pancake Poppers
- What if I don’t have buttermilk?
- Can I add mix-ins to the batter?
- How do I keep the pancake poppers warm?
- Can these be made ahead of time?
- What’s the best way to reheat them?
- Meal Prep & Freezer Tips for Effortless Mornings
- Flavor Twists & Serving Suggestions
- Common Mistakes to Sidestep for Perfect Poppers
- Nutritional Information (Estimated per serving)
Why These Little Poppers Will Revolutionize Your Mornings
Okay, “revolutionize” might sound like a strong word for breakfast, but seriously, these pancake poppers are a game-changer. What I love most is their sheer convenience. No more battling with a massive pancake on a plate; these are perfectly portioned and incredibly easy to manage. They’re ideal for busy families, meal-prepping enthusiasts, or anyone who just wants a simple, satisfying breakfast. Beyond convenience, these poppers offer a delightful textural experience. Each one boasts a crisp, golden exterior that gives way to a soft, fluffy interior. It’s that perfect contrast that keeps you reaching for another. Plus, they’re incredibly adaptable – think of them as a blank canvas for your favorite breakfast flavors!Gather Your Ingredients: What You’ll Need for Perfect Poppers
You likely have most of these staples in your pantry already, which makes whipping up a batch of these fluffy pancake poppers even easier. Fresh ingredients always make a difference, so ensure your baking powder is active for the best rise!Pancake Batter Basics
- 1 ½ cups (180g) all-purpose flour
- 2 tablespoons granulated sugar
- 2 teaspoons baking powder
- ½ teaspoon baking soda
- ¼ teaspoon salt
- 1 large egg, lightly beaten
- 1 cup (240ml) buttermilk (or homemade sour milk – see tip below!)
- ¼ cup (60ml) milk (any kind works)
- 2 tablespoons unsalted butter, melted and slightly cooled
- 1 teaspoon vanilla extract
- Cooking spray or additional butter for your pan
Topping & Dipping Ideas
- Maple syrup (always a classic!)
- Fresh berries (strawberries, blueberries, raspberries)
- Whipped cream
- Chocolate chips (mini ones are great for mixing in!)
- Powdered sugar for dusting
- Fruit compotes or jams
- Nutella or peanut butter for dipping
Crafting Your Fluffy Pancake Poppers: A Step-by-Step Guide
Making these poppers is surprisingly simple and fun. The key is to not overmix and to have your pan perfectly heated.Step 1: Get Your Dry Ingredients Ready
In a large mixing bowl, whisk together the all-purpose flour, granulated sugar, baking powder, baking soda, and salt. Give it a good whisk to ensure everything is evenly distributed. This aeration helps create a lighter popper.Step 2: Combine the Wet Elements
In a separate medium bowl, whisk together the lightly beaten egg, buttermilk, milk, melted butter, and vanilla extract. Ensure the melted butter isn’t too hot, as it can scramble the egg.Step 3: Bring Batter Together
Pour the wet ingredients into the dry ingredients. Stir gently with a spatula or wooden spoon until just combined. A few lumps are perfectly fine and even desirable – overmixing develops gluten, which can lead to tough pancakes. You want a thick, slightly lumpy batter.Step 4: Heat Up Your Pan
Place a non-stick skillet or a cast-iron pan (a trusty aebleskiver pan works wonders here if you have one!) over medium heat. Lightly grease with cooking spray or a small knob of butter. The pan is ready when a drop of water sizzles and evaporates quickly.Step 5: Cook the Poppers
Using a small cookie scoop or a tablespoon, drop spoonfuls of batter onto the hot pan. Aim for about 1-inch to 1.5-inch diameter poppers. Don’t overcrowd the pan; give them space. Tip: If using an aebleskiver pan, fill each well about two-thirds full. As they cook, turn them with skewers or a small offset spatula to form a spherical shape. This takes a little practice but is so satisfying!Step 6: Flip and Finish
Cook for 2-3 minutes on the first side, or until you see small bubbles forming on the surface and the edges look set and golden brown. Gently flip each popper and cook for another 1-2 minutes on the second side, until golden and cooked through.Common Questions About Pancake Poppers
Curious about how to get the best results or tweak the recipe? I’ve got you covered with some frequently asked questions.What if I don’t have buttermilk?
No problem at all! You can easily make your own buttermilk substitute. For 1 cup of buttermilk, measure out 1 cup of regular milk (dairy or non-dairy) and stir in 1 tablespoon of white vinegar or lemon juice. Let it sit for 5-10 minutes until it looks slightly curdled.Can I add mix-ins to the batter?
Absolutely! Mini chocolate chips, finely chopped nuts, or small diced fruit (like blueberries or raspberries) are wonderful additions. Stir them into the batter just before cooking. For best results, avoid overfilling the batter with mix-ins.How do I keep the pancake poppers warm?
As you cook batches, transfer the finished poppers to a wire rack set over a baking sheet and keep them warm in a preheated oven at 200°F (95°C). This prevents them from getting soggy while you finish the rest.Can these be made ahead of time?
Yes! Pancake poppers are fantastic for meal prep. Cook them completely, let them cool to room temperature, then store them in an airtight container in the refrigerator for up to 3-4 days.What’s the best way to reheat them?
You can reheat them gently in a microwave for 30-60 seconds, or for a crispier exterior, pop them in a toaster oven or air fryer at 300°F (150°C) for a few minutes until warmed through.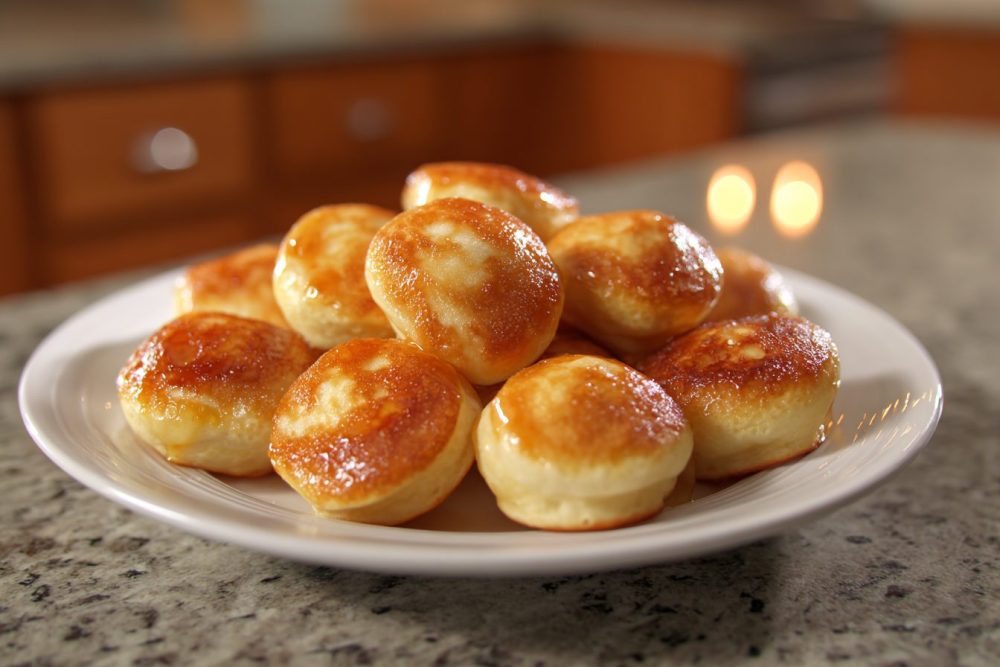
Meal Prep & Freezer Tips for Effortless Mornings
These fluffy pancake poppers aren’t just for immediate gratification; they’re also a dream come true for meal prep! Imagine having a stash of these ready to go for quick breakfasts or snacks throughout the week. Once your pancake poppers are cooked and have cooled completely to room temperature, you can store them in an airtight container in the refrigerator for up to 3-4 days. This is perfect for busy weekday mornings – a quick zap in the microwave or a few minutes in a toaster oven, and you’re all set! For longer storage, these little beauties freeze beautifully. Arrange the cooled poppers in a single layer on a baking sheet and freeze for about an hour, or until solid. This “flash freezing” step prevents them from sticking together. Once frozen, transfer them to a freezer-safe bag or container. They’ll keep well for up to 2-3 months. To reheat from frozen, you can microwave them, toast them, or warm them in a preheated oven until heated through.Flavor Twists & Serving Suggestions
While classic maple syrup is always a winner, don’t be afraid to get creative with your pancake poppers! Their small size makes them perfect for experimenting with different toppings and dips. For a decadent dessert-like experience, try drizzling them with melted chocolate and a sprinkle of sea salt. If you’re a fruit fan, a dollop of Greek yogurt with fresh berries and a drizzle of honey makes for a lighter, refreshing option. Sometimes, I like to serve them with a side of crispy bacon or sausage links to round out the breakfast. For a fun party spread, set up a “Pancake Popper Bar” with various syrups, fresh fruits, nuts, and whipped cream, letting everyone customize their own!Common Mistakes to Sidestep for Perfect Poppers
Even with a simple recipe, a few common pitfalls can make or break your breakfast. Knowing them ahead of time helps ensure your pancake poppers turn out perfect every single time. First, resist the urge to overmix the batter. This is the cardinal rule of pancake making! Overmixing develops gluten, which leads to tough, chewy pancakes instead of light and fluffy ones. A few lumps are totally fine. Second, don’t skimp on the heat check for your pan. A pan that’s too cold will result in pale, greasy poppers, while one that’s too hot will burn the outside before the inside cooks through. Medium heat is usually the sweet spot. Finally, crowding the pan is another common mistake. Give your poppers enough space to cook evenly and for you to easily flip them. Cooking in batches ensures each one gets the attention it deserves. Give yourself some grace, especially if you’re using a specialty pan like an aebleskiver iron for the first time – practice makes perfect!Nutritional Information (Estimated per serving)
| Nutrient | Amount |
|---|---|
| Calories | 350 kcal |
| Protein | 9g |
| Fat | 12g |
| Saturated Fat | 7g |
| Carbohydrates | 50g |
| Fiber | 2g |
| Sugar | 10g |
| Sodium | 380mg |
| Cholesterol | 65mg |

Fluffy Pancake Poppers
Deliciously fluffy bite-sized pancake poppers, perfect for a quick breakfast or snack, easy to make and enjoy with your favorite toppings.
📝 Ingredients
👩🍳 Instructions
-
1In a large bowl, whisk together flour, sugar, baking powder, baking soda, and salt until well combined.
-
2In a separate medium bowl, whisk together the egg, buttermilk, milk, melted butter, and vanilla extract.
-
3Pour the wet ingredients into the dry ingredients. Stir gently with a spatula until just combined. The batter should be slightly lumpy; do not overmix.
-
4Heat a non-stick skillet or aebleskiver pan over medium heat. Lightly grease with cooking spray or butter.
-
5Using a small cookie scoop or tablespoon, drop spoonfuls of batter (about 1-1.5 inches in diameter) onto the hot pan, ensuring not to overcrowd it. If using an aebleskiver pan, fill each well about two-thirds full.
-
6Cook for 2-3 minutes on the first side, or until small bubbles form on the surface and edges are golden brown. Flip each popper and cook for another 1-2 minutes until golden and cooked through.
-
7Transfer cooked pancake poppers to a plate or a wire rack to keep warm. Repeat with remaining batter.
-
8Serve immediately with your favorite toppings like maple syrup, fresh berries, or powdered sugar.
💡 Notes
For a buttermilk substitute, add 1 tablespoon of white vinegar or lemon juice to 1 cup of regular milk and let sit for 5-10 minutes. These poppers can be stored in an airtight container in the refrigerator for up to 3-4 days or frozen for up to 2-3 months. Reheat in a microwave, toaster oven, or air fryer.