Okay, so I’m going to confess something right out of the gate: for years, I scoffed at cottage cheese. Seriously, the texture just wasn’t for me. It was one of those “healthy” foods I perpetually avoided. Then, one fateful afternoon, scrolling through a rabbit hole of culinary experiments, I stumbled upon a whisper of an idea: what if you could make cottage cheese *crispy*? My curiosity, much to my surprise, was piqued. And let me tell you, that curiosity led me straight to the discovery of these incredible cottage cheese chips, which have single-handedly converted me into a cottage cheese evangelist.
- Just One Ingredient? You Bet!
- Why These Cottage Cheese Chips Are a Game Changer
- Crafting Your Crispy Protein Chips: Step-by-Step
- Preparing Your Workspace and Cottage Cheese
- Spoon & Spread: Getting Them Ready for the Oven
- Seasoning Your Soon-to-Be Chips
- Baking to Golden Perfection
- Cooling and Enjoying Your Creations
- Serving Suggestions & Flavor Twists
- Common Questions About Cottage Cheese Chips
- Can I use low-fat or fat-free cottage cheese?
- Do I need to press the cottage cheese to remove moisture?
- How do I store leftover cottage cheese chips?
- Can I make these in an air fryer?
- What if my chips aren’t getting crispy?
- Nutritional Snapshot
Just One Ingredient? You Bet!
The beauty of this recipe truly lies in its shocking simplicity. We’re not talking about a long list of obscure ingredients or a complex multi-step process here. This is pure, unadulterated minimalist snacking at its finest.What You’ll Need:
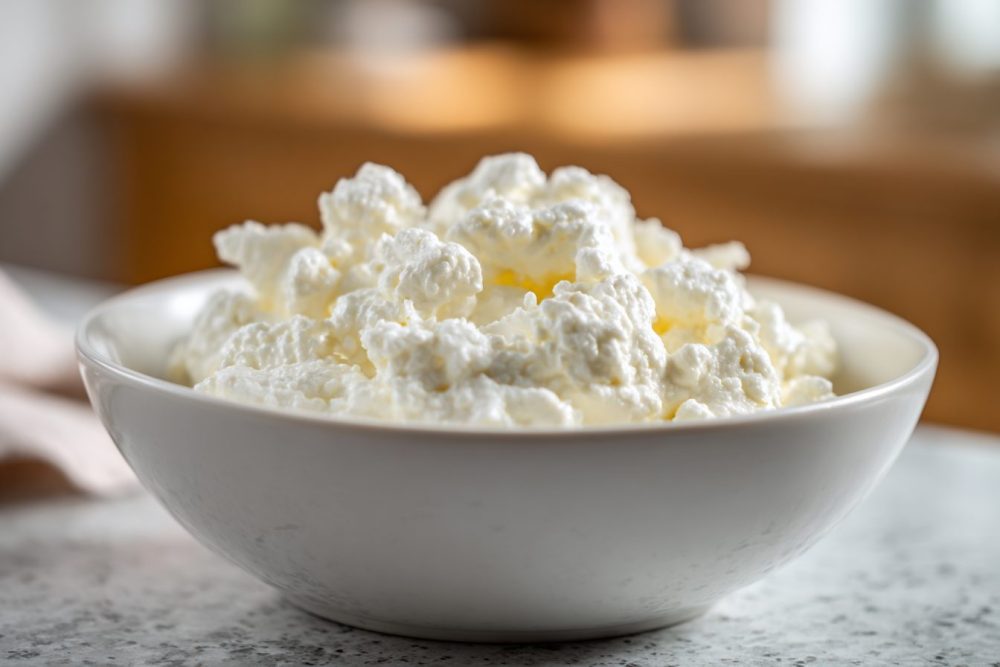
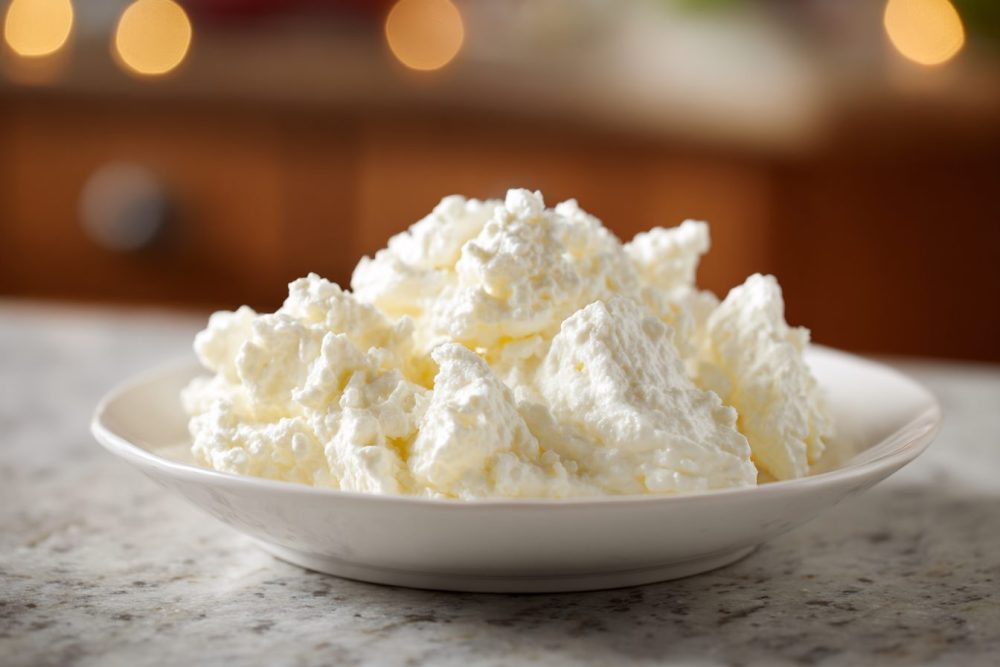
- Cottage Cheese: The star of our show! I recommend using a good quality, full-fat or 2% cottage cheese. The higher fat content seems to help with crispiness and flavor, but I’ve successfully made them with lower-fat versions too. Just make sure it’s not the “whipped” kind; you want those distinct curds.
Why These Cottage Cheese Chips Are a Game Changer
Beyond their delicious crunch, these high-protein cottage cheese chips offer a wealth of benefits that make them an absolute staple in my kitchen. It’s not just a novelty; it’s genuinely practical and versatile.A Protein Powerhouse
Each serving of cottage cheese is already packed with protein, and concentrating it this way just makes it even more potent. This means longer-lasting satiety, better energy levels, and a fantastic way to support muscle health. If you struggle to hit your daily protein goals, this snack is your new best friend.Naturally Gluten-Free
For those avoiding gluten, finding truly satisfying and crunchy snacks can be a challenge. These chips are naturally gluten-free, making them a safe and delicious option for almost everyone. No weird flours or binders needed!Incredibly Versatile
While they’re fantastic on their own, these chips are a blank slate. They can be savory, spicy, herby, or even a little sweet (though I tend to lean savory). Their neutral base allows you to pair them with almost any dip or topping imaginable. They stand up well to hummus, guacamole, salsa, or even a creamy dill sauce.Crazy Easy to Make
If you can spoon cottage cheese onto a baking sheet, you can make these. There’s no fancy equipment, no complex techniques, and very little cleanup. It’s a perfect project for a lazy afternoon when you want something homemade but don’t want a huge fuss.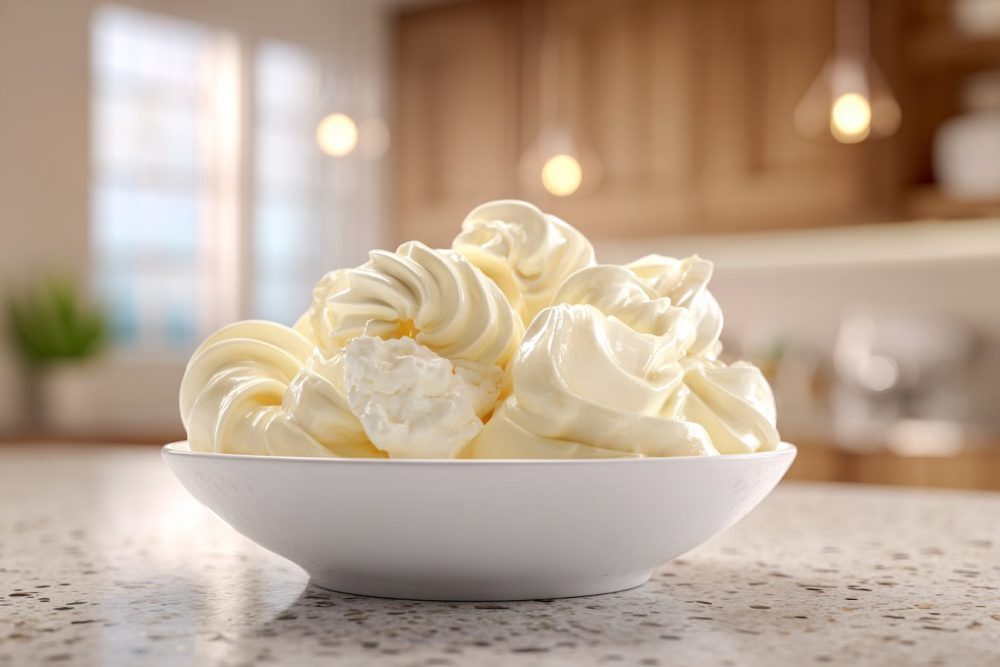
Crafting Your Crispy Protein Chips: Step-by-Step
Let’s turn that creamy goodness into something wonderfully crunchy. The process is straightforward, but a few little tricks make all the difference.Preparing Your Workspace and Cottage Cheese
First things first, preheat your oven to 375°F (190°C). Line a baking sheet with parchment paper or a silicone baking mat. This is crucial for easy removal and prevents sticking. Trust me, you don’t want to skip this step.
Next, grab your cottage cheese. If there’s any excess liquid, drain it off gently. You don’t need to press it completely dry, but removing some of the whey helps with crisping.
Spoon & Spread: Getting Them Ready for the Oven
Using a spoon, dollop small amounts of cottage cheese onto your prepared baking sheet. Aim for about 1-2 teaspoons per “chip.” Leave a little space between each dollop, as they will spread slightly.
Now, here’s a key trick: use the back of your spoon to gently flatten each dollop into a thin, even disc. The thinner you spread them, the crispier they’ll become. Don’t worry if they’re not perfectly round; rustic charm is part of their appeal!
Tip: For best results, don’t overcrowd the baking sheet. If you have a lot of cottage cheese, bake in batches. This ensures even airflow and better crisping.
Seasoning Your Soon-to-Be Chips
This is where you get to personalize your cottage cheese chips! While plain is perfectly fine, a sprinkle of seasoning elevates them dramatically. Before baking, sprinkle your chosen seasonings over the flattened discs. Here are some ideas:
- Classic Savory: A pinch of salt, black pepper, and garlic powder.
- Herby: Dried dill, chives, or a mix of Italian herbs.
- Spicy Kick: A dash of smoked paprika and a tiny pinch of cayenne pepper.
- Cheesy Boost: A sprinkle of nutritional yeast for a cheesy, umami flavor.
Baking to Golden Perfection
Slide your baking sheet into the preheated oven. Bake for 30-45 minutes, depending on your oven and how thin you spread the chips. The goal is deeply golden brown edges and a firm, crispy texture. They should feel dry to the touch.
Around the 25-minute mark, keep a close eye on them. You might notice some browning faster than others. If you like, you can carefully flip them with a thin spatula for even crisping, but it’s not strictly necessary if they’re thin enough.
Cooling and Enjoying Your Creations
Once baked to your desired crispiness, remove the baking sheet from the oven. Let the chips cool on the baking sheet for a few minutes. They will continue to crisp up as they cool.
Carefully transfer them to a wire rack to cool completely. This prevents them from getting soggy from residual steam. Once fully cooled, they’ll be wonderfully crunchy and ready to devour!
Serving Suggestions & Flavor Twists
These crispy cottage cheese chips are incredibly versatile. Here are some of my favorite ways to enjoy them: Dipping Delights: Serve with your favorite dips. Think creamy hummus, zesty salsa, fresh guacamole, or a simple Greek yogurt dip with herbs. Salad Toppers: Crumble them over a crisp green salad or a vibrant grain bowl for an extra layer of crunch and protein. They’re fantastic on a Caesar salad instead of croutons. Soup Croutons: Add them as a savory, gluten-free “crouton” to a bowl of warm tomato soup or a hearty lentil stew. Nachos, Reinvented: Layer them with your favorite nacho toppings – beans, cheese (a little more for good measure!), jalapeños, and a dollop of sour cream. Everything Bagel Twist: Before baking, sprinkle with everything bagel seasoning. This is a personal favorite for a salty, garlicky, sesame crunch. Spicy Chipotle: Mix a tiny pinch of chipotle powder into the cottage cheese before dollopping, or sprinkle on top.Common Questions About Cottage Cheese Chips
You’ve got questions, I’ve got answers. Here are some of the things people often ask about making these addictive high-protein cottage cheese chips.Can I use low-fat or fat-free cottage cheese?
Yes, you can! While I find full-fat or 2% cottage cheese gives the best crispiness and flavor, low-fat and fat-free versions will also work. They might take a little longer to crisp up and might be slightly less rich, but they’ll still be delicious and a fantastic high-protein snack.
Do I need to press the cottage cheese to remove moisture?
It’s not strictly necessary to press it like you would tofu, but gently draining off any visible excess liquid from the container is a good idea. Too much moisture can prolong the baking time and make it harder to achieve a super crispy texture.
How do I store leftover cottage cheese chips?
Once completely cooled, store the chips in an airtight container at room temperature for up to 3-4 days. To reclaim maximum crispiness, you can pop them back in a toaster oven or regular oven at 300°F (150°C) for a few minutes. They can lose some crunch over time, but a quick re-bake fixes that right up.
Can I make these in an air fryer?
Absolutely! The air fryer is a fantastic option for these. Arrange the cottage cheese dollops in a single layer in your air fryer basket or on a tray (depending on your model). Air fry at 350°F (175°C) for about 10-15 minutes, checking frequently and flipping halfway, until golden and crispy. Air fryer times can vary, so keep a close eye on them!
What if my chips aren’t getting crispy?
There are a few culprits if your chips aren’t reaching peak crispiness. First, ensure they are spread thinly enough. Thicker chips will stay chewier. Second, your oven temperature might be off, or they might need more time. Don’t be afraid to let them go until they are truly golden brown and firm to the touch. Also, make sure you’re using parchment paper or a silicone mat; if they stick too much, they won’t release cleanly and can break before crisping.
Nutritional Snapshot
Here’s a general idea of what a serving of these high-protein cottage cheese chips might offer, based on approximate values for 2% cottage cheese before seasoning. Keep in mind that exact numbers will vary based on the specific brand and fat content you use.| Nutrient | Approximate Value (per serving) |
|---|---|
| Calories | 100-120 kcal |
| Protein | 12-15g |
| Fat | 3-5g |
| Saturated Fat | 2-3g |
| Carbohydrates | 3-4g |
| Fiber | 0g |
| Sugar | 3g |
| Sodium | 350-450mg |

Crispy Cottage Cheese Power Bites
Transform plain cottage cheese into crunchy, high-protein chips – a surprisingly simple and versatile snack for dipping or topping.
📝 Ingredients
👩🍳 Instructions
-
1Preheat your oven to 375°F (190°C). Line a large baking sheet with parchment paper or a silicone baking mat.
-
2If your cottage cheese has excess liquid, gently drain it off. You don't need to press it dry, just remove any pooling whey.
-
3Using a small spoon (about 1-2 teaspoons per chip), dollop small mounds of cottage cheese onto the prepared baking sheet. Leave about an inch of space between each dollop.
-
4With the back of the spoon, gently flatten each dollop into a thin, even disc. The thinner you spread them, the crispier they will become. Aim for about 1/8 to 1/16 inch thickness.
-
5If using, sprinkle your chosen seasonings evenly over the flattened cottage cheese discs.
-
6Bake for 30-45 minutes, or until the chips are deeply golden brown, firm, and crispy. Baking time will vary based on thickness and oven. Keep a close eye on them after 25 minutes to prevent burning.
-
7Once baked, remove the baking sheet from the oven and let the chips cool on the sheet for 5-10 minutes. They will continue to crisp up as they cool.
-
8Carefully transfer the cooled chips to a wire rack to cool completely before serving. Enjoy plain or with your favorite dips!
💡 Notes
For best crispiness, spread the cottage cheese as thinly as possible. Store leftover chips in an airtight container at room temperature for up to 3-4 days. If they lose crispness, reheat briefly in a toaster oven or regular oven.